North American F-86 Sabre (Tomahawk)

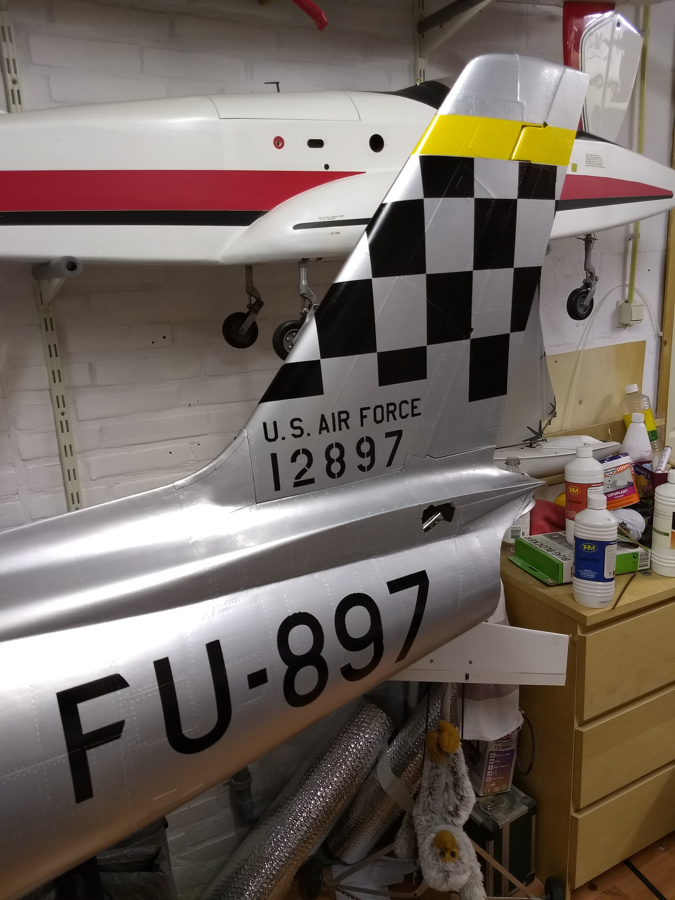
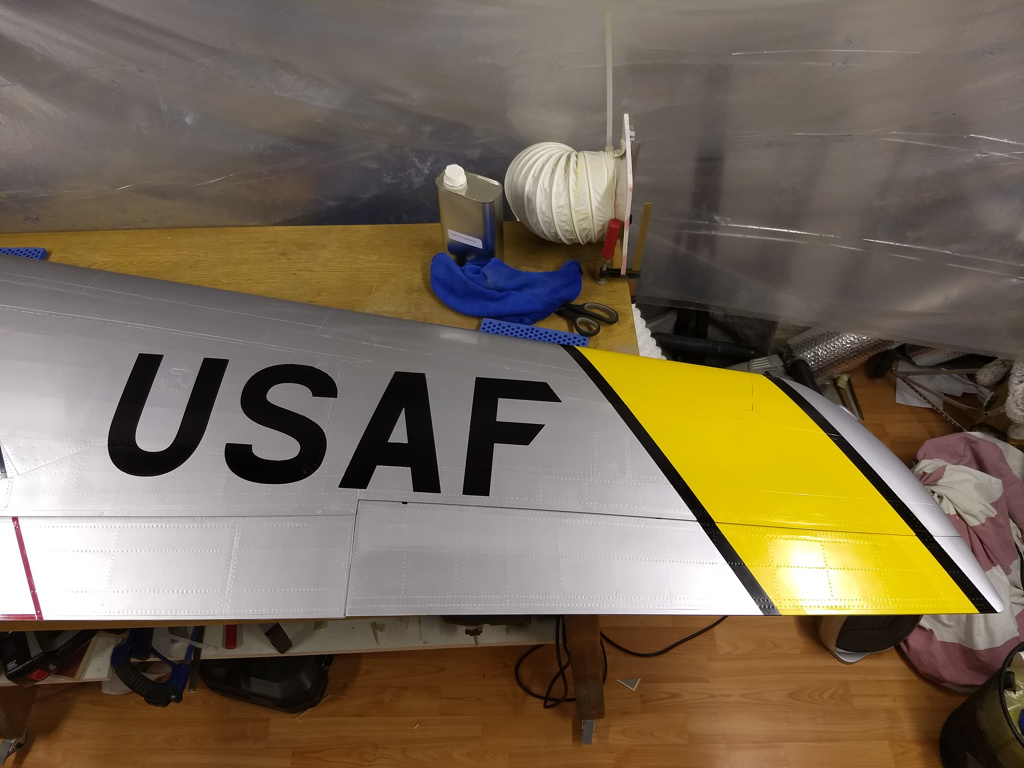
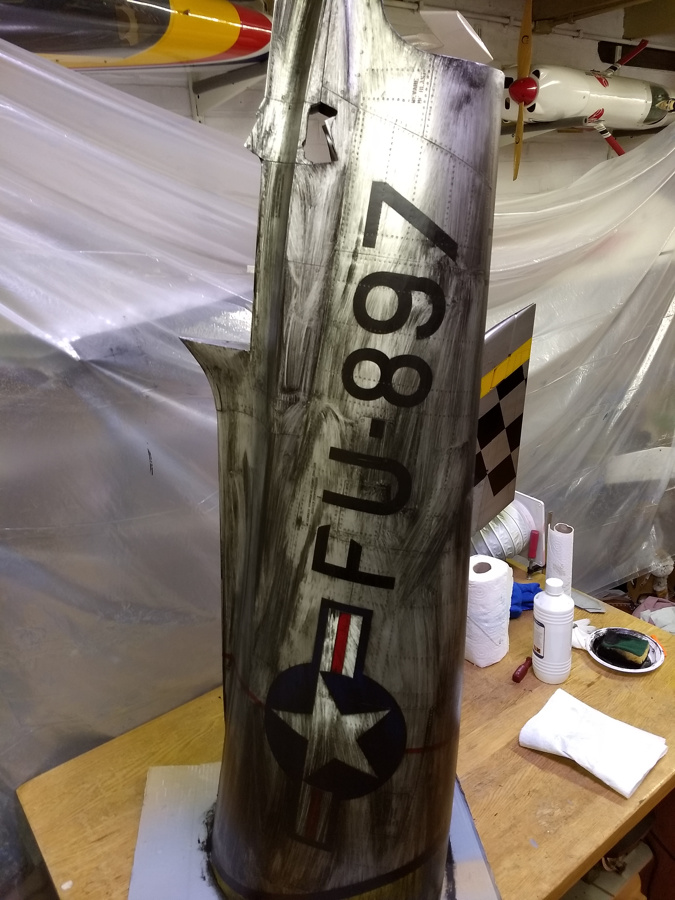
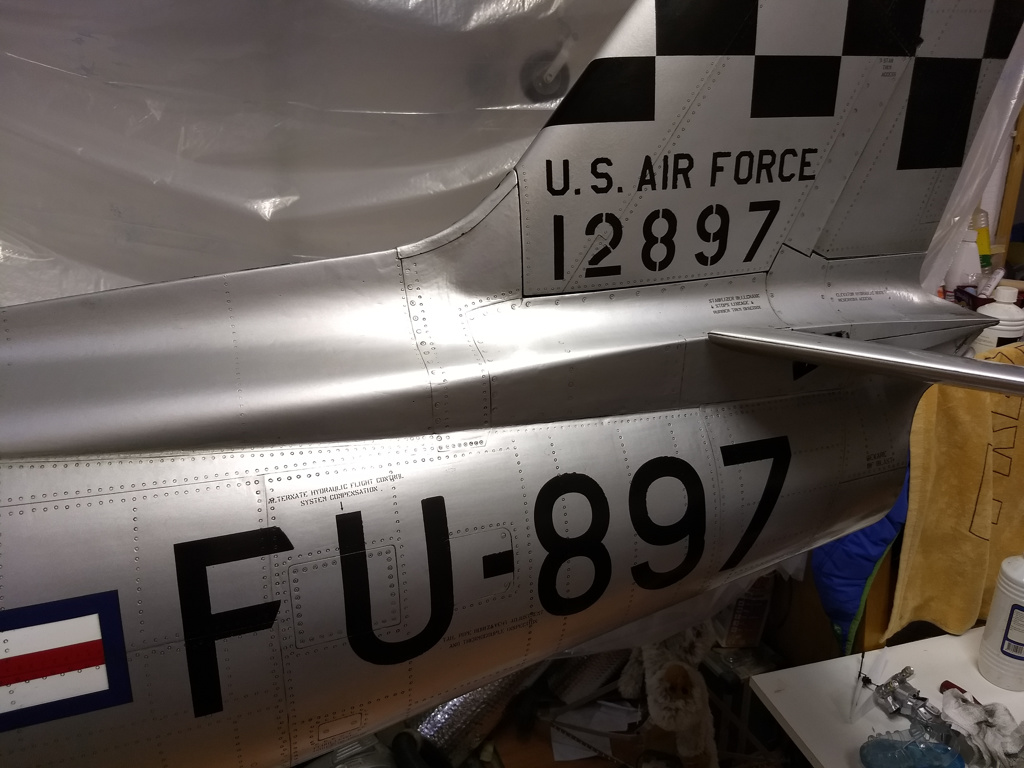
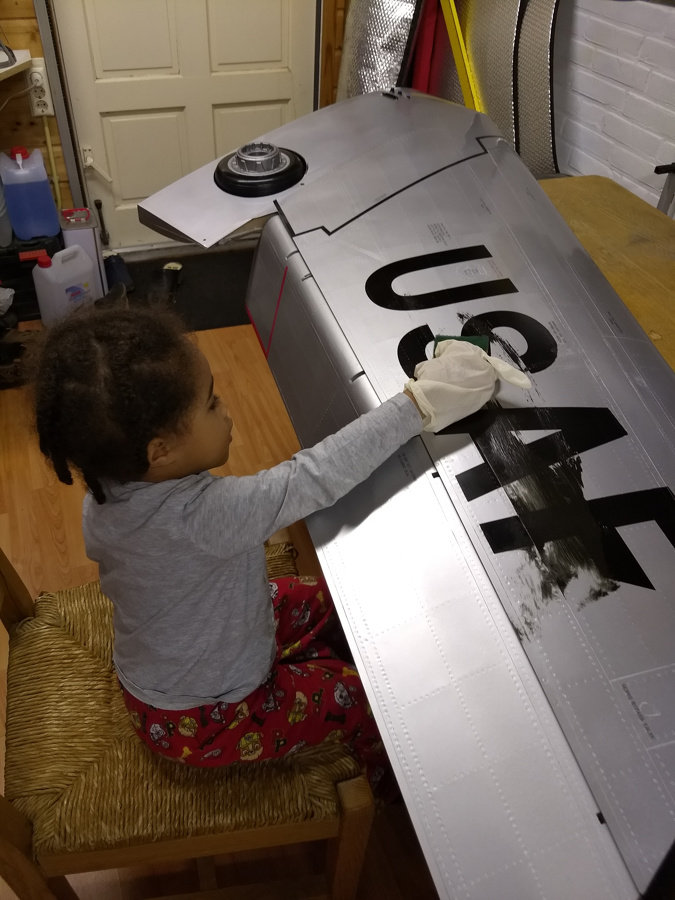
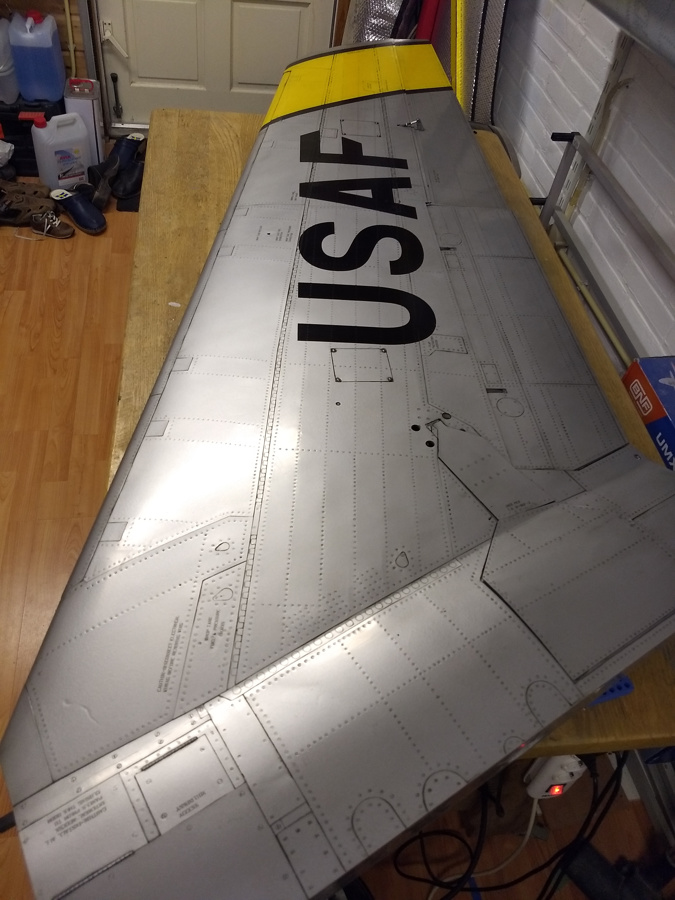
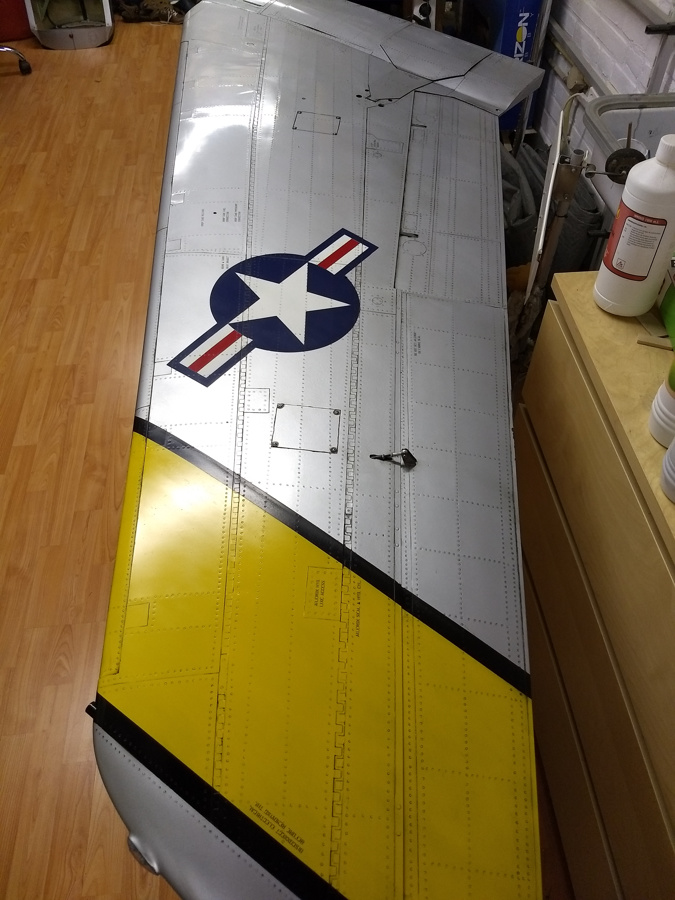
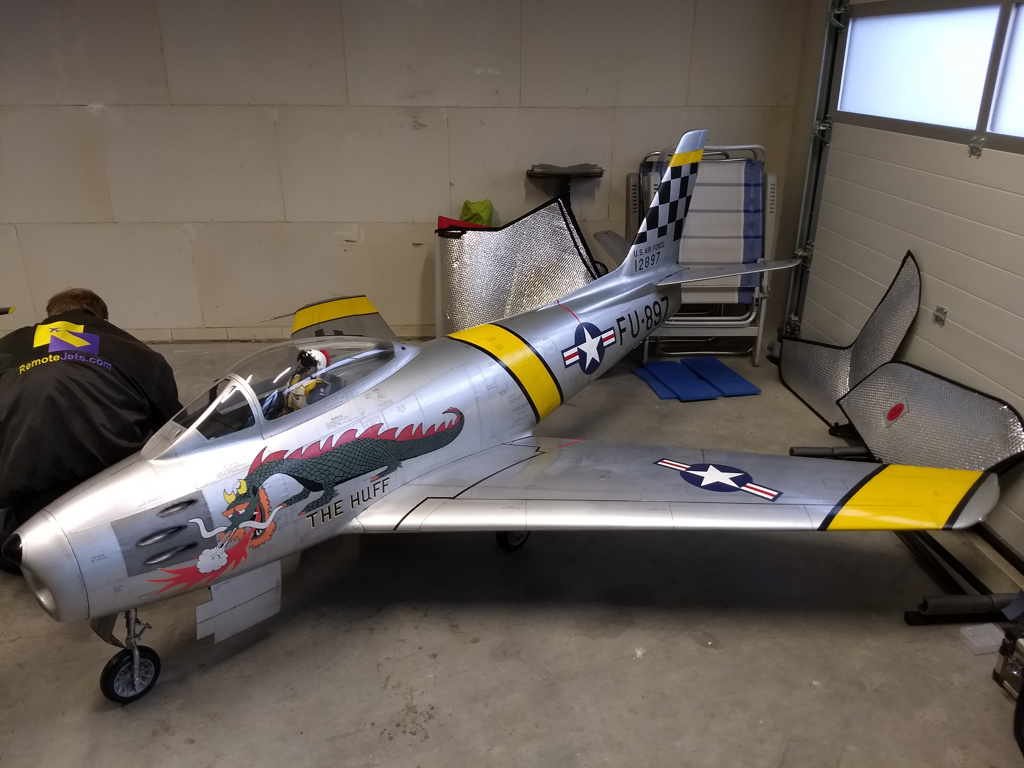
The tail is finished. The edges of the text are a bit rough but that looks worn out so it is good :)
IMG_20171118_163528845.jpg


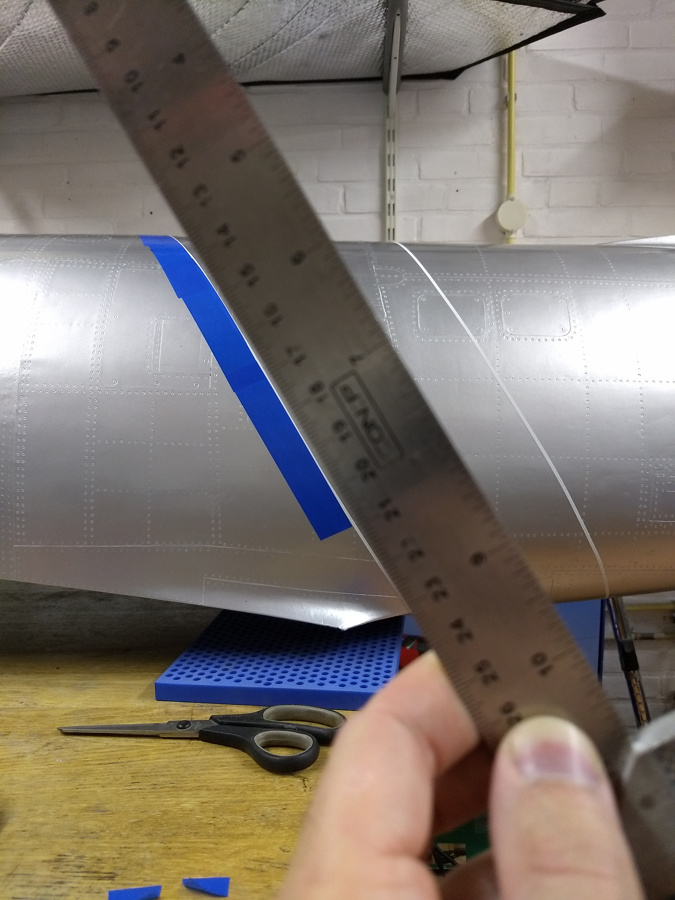
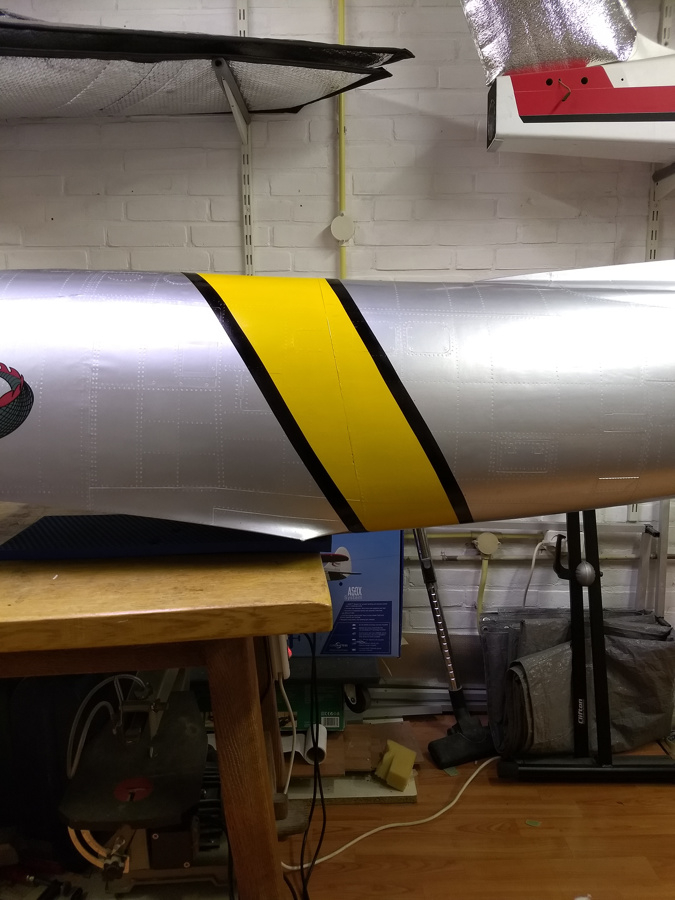
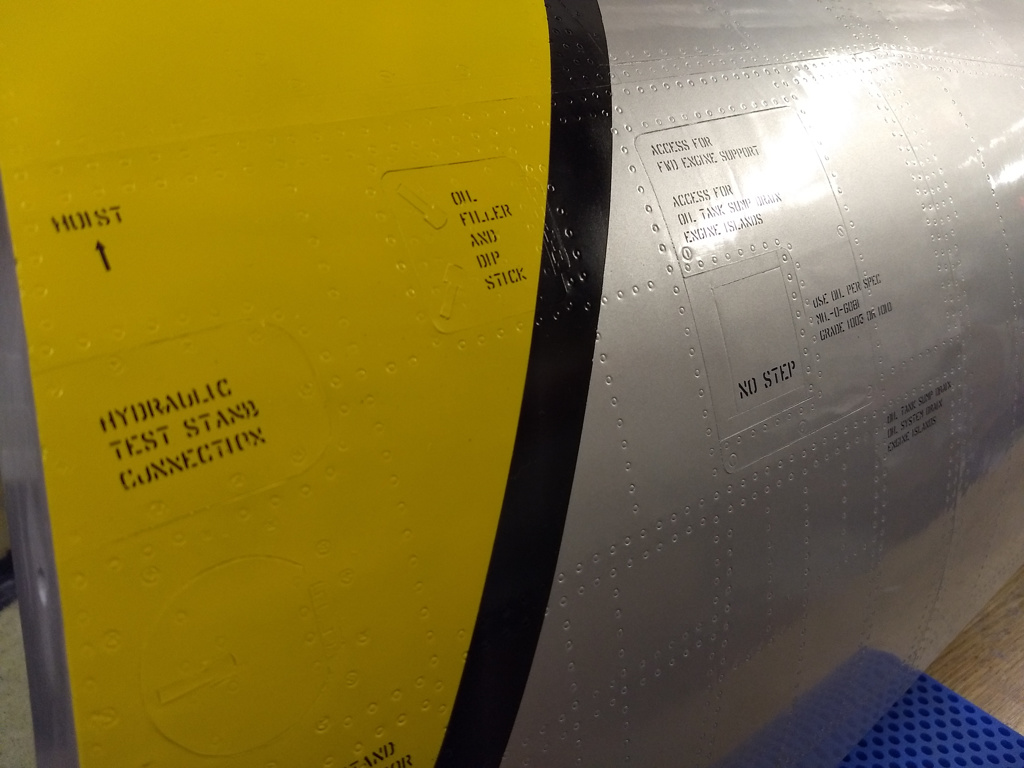
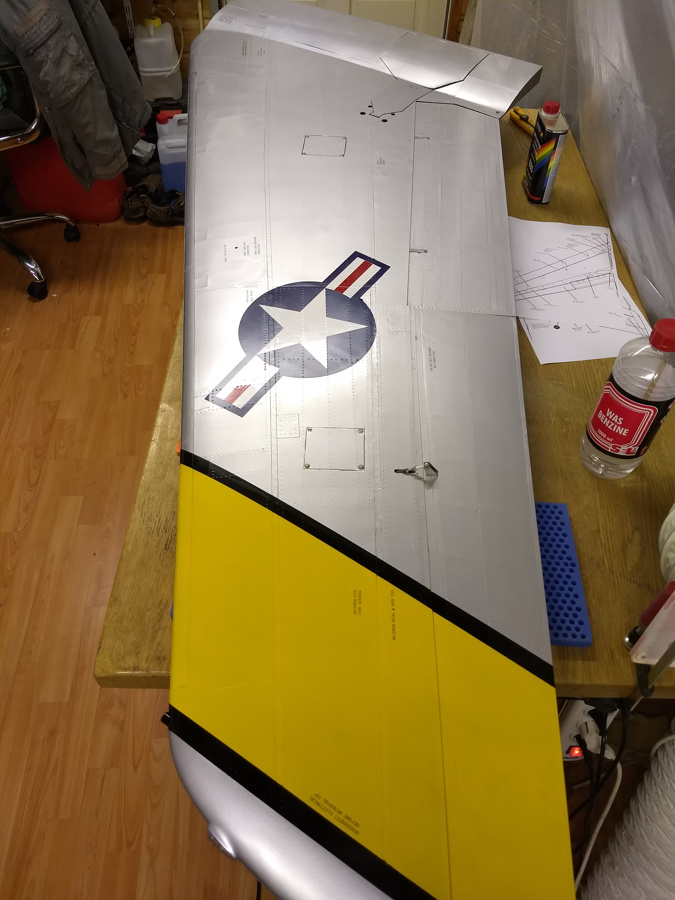
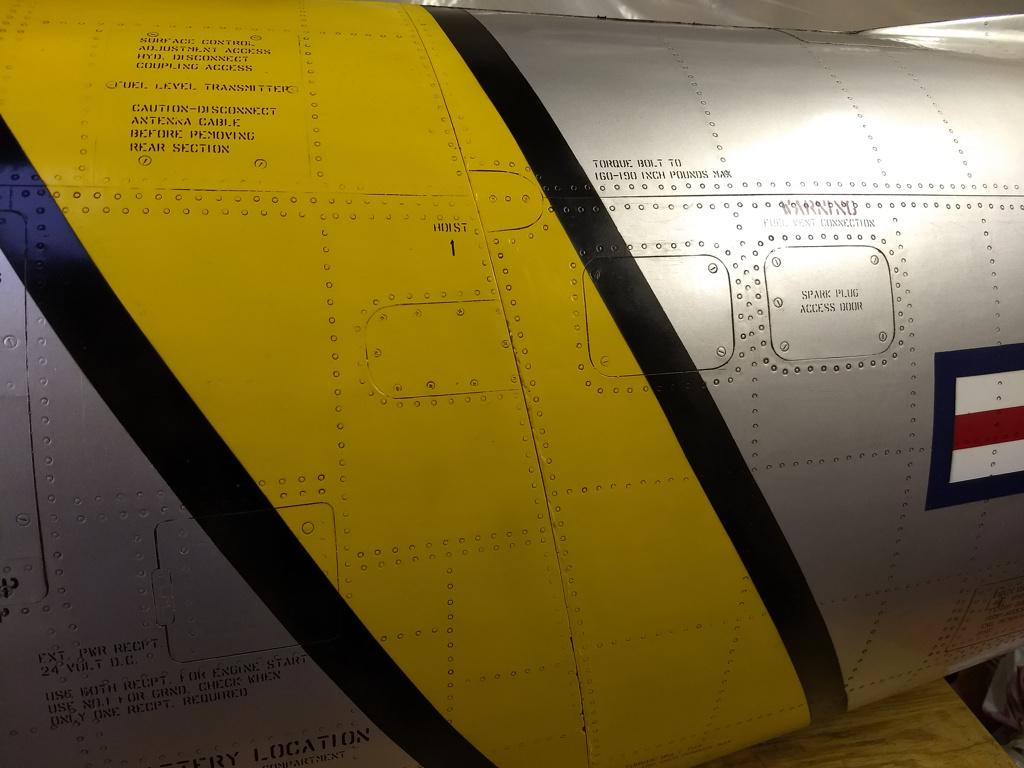
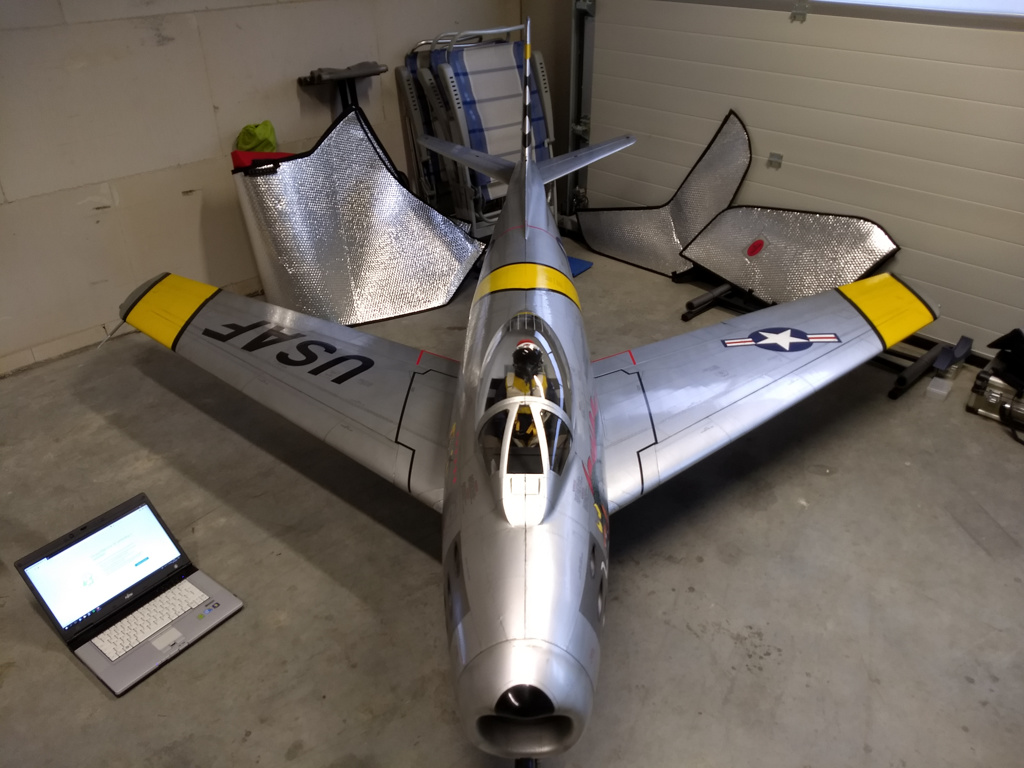
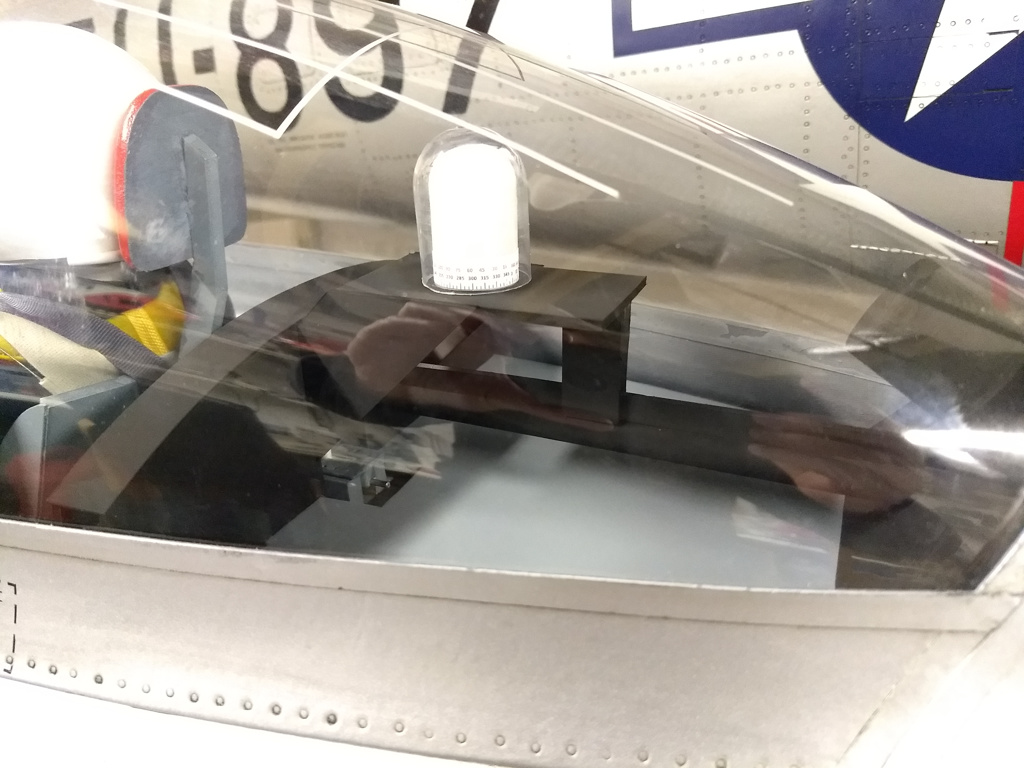
The diagonal band around the fuselage was a bit difficult. Seen from the side it looks straight and there are different positions and angles on different photo's. I tried using a laser but was not happy with the results. Using the old fashion method worked out nice.
IMG_20171118_203453551.jpg


IMG_20171119_125609278.jpg


IMG_20171119_125853418.jpg


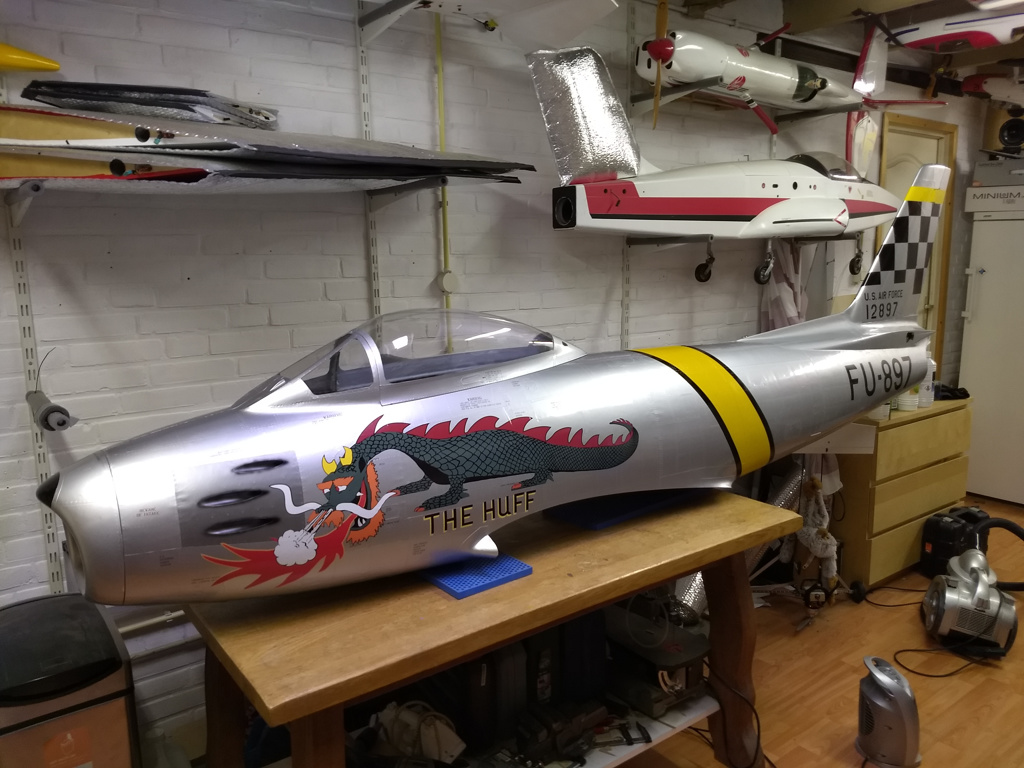
Pretty good progress for a weekend :)
 
The fuselage is painted and all decals are placed. It only needs weathering which will be done once the wings are painted also.
IMG_20171124_184545809.jpg

IMG_20171124_184615414.jpg

IMG_20171125_191957458.jpg


The first wing is partially ready with paint. The star on the bottom will be painted this week hopefully and then it only need the decals.
IMG_20171127_073818512.jpg
 
The first wing is ready with paint and decals. Sadly most texts are on the underside of the wing and are rarely seen....
IMG_20171129_203222849.jpg


I got some paint for the weathering and did a small test piece with dark grey and brown. The result is great. The weathered piece looks so much more real..... can't wait to smear it on the whole plane :)
IMG_20171129_213218524.jpg
 
Weathering on the fusulage is done. It looks great and i am very happy with the result. It was my first time but it turned out to be very easy. Enough good examples here on the forum :)

IMG_20171202_130704876.jpg


IMG_20171130_201818757.jpg


IMG_20171202_103511515.jpg


IMG_20171202_154822086.jpg


IMG_20171202_154808082.jpg


IMG_20171202_154750516.jpg


IMG_20171202_154731929.jpg
 
To protect everything in the shed from spray paint i covered 2 sides with plastic sheets. Doors on both sides can be opened to remove the paint quickly from the air. The plastic also attracts the paint which helps a bit.
IMG_20171206_204702193.jpg


The last parts have been painted. The stars on the wing are fun to do every time.
IMG-20171209-WA0000.jpeg


I also got a little help with the weathering :) The outside of the plane is now ready.
IMG_20171211_200831284_BURST000_COVER_TOP.jpg


IMG_20171212_210945382.jpg


IMG_20171212_210935491.jpg


I damaged the first front canopy glass.... i already have another and will fit it soon. Then i will work on the cockpit because there are many things needed to make it look right. I hope i have the pilot soon. I keep hearing for weeks it is almost ready..... Should have been shipped today but i have not seen a tracking code :( 
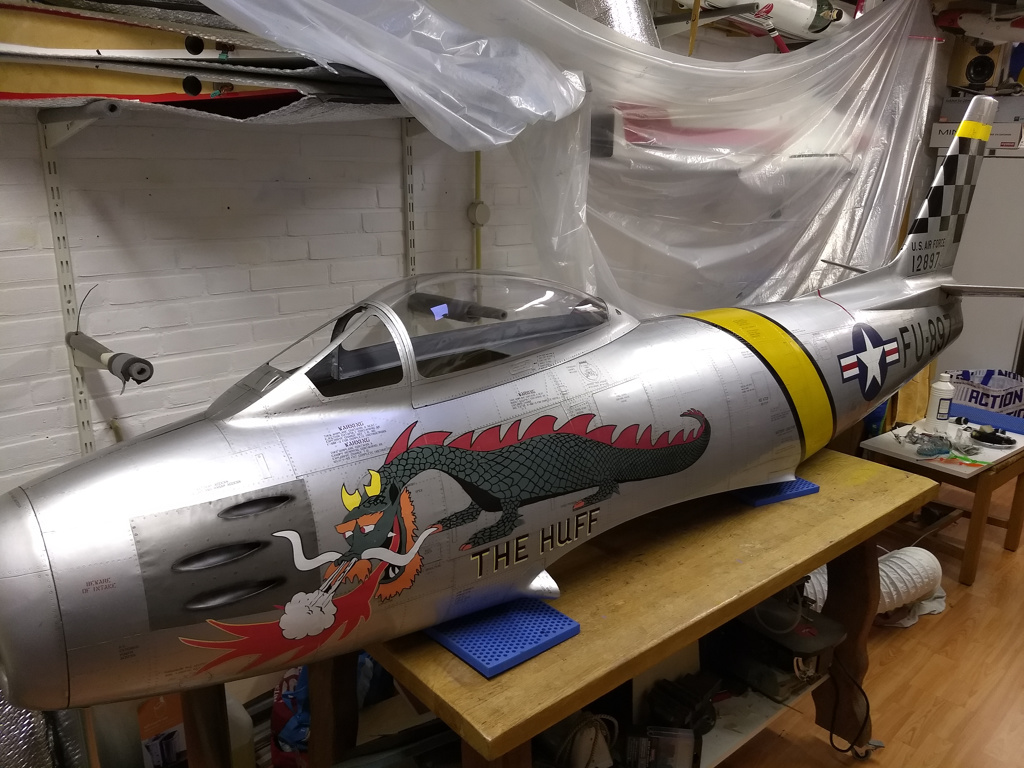
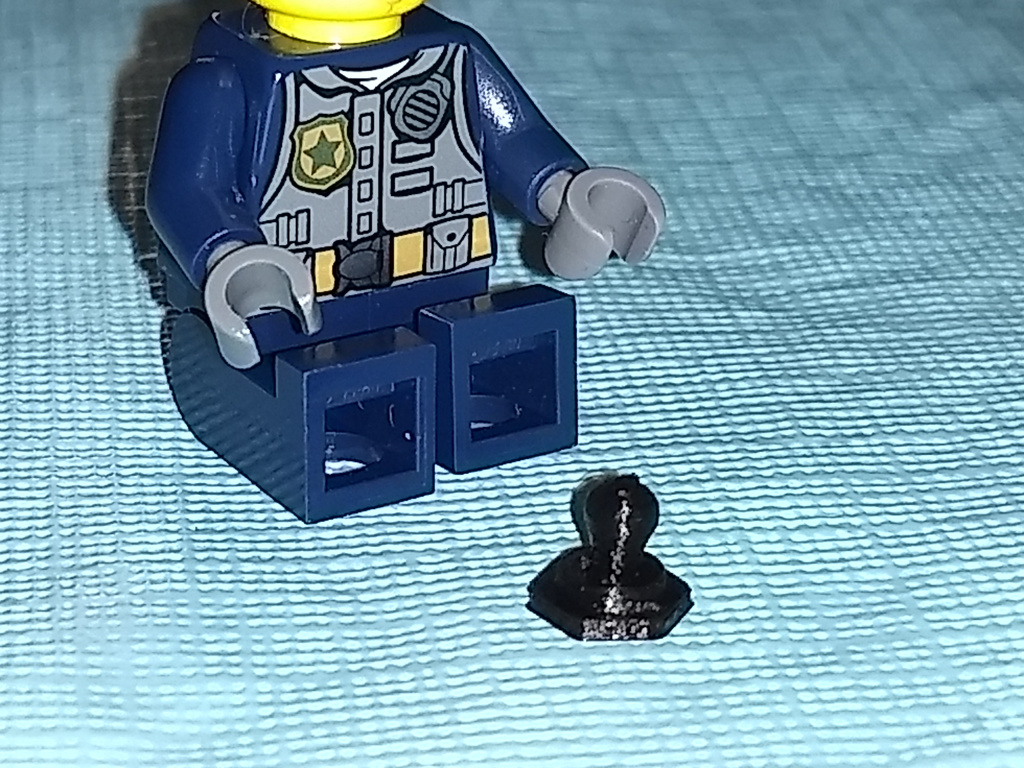
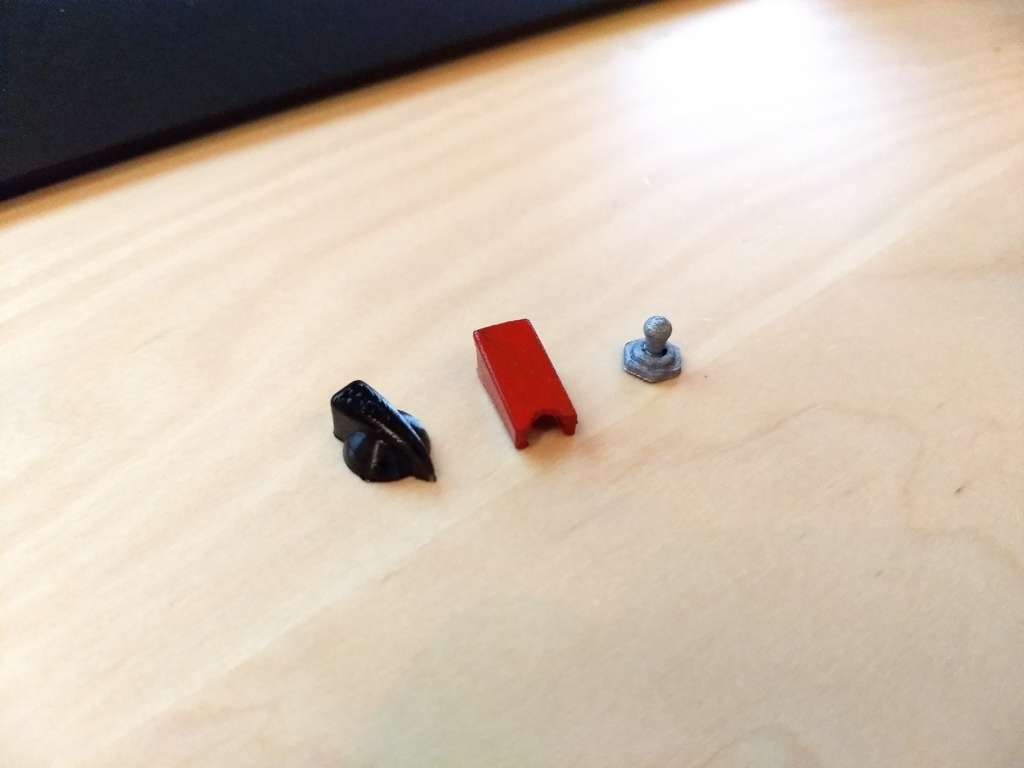
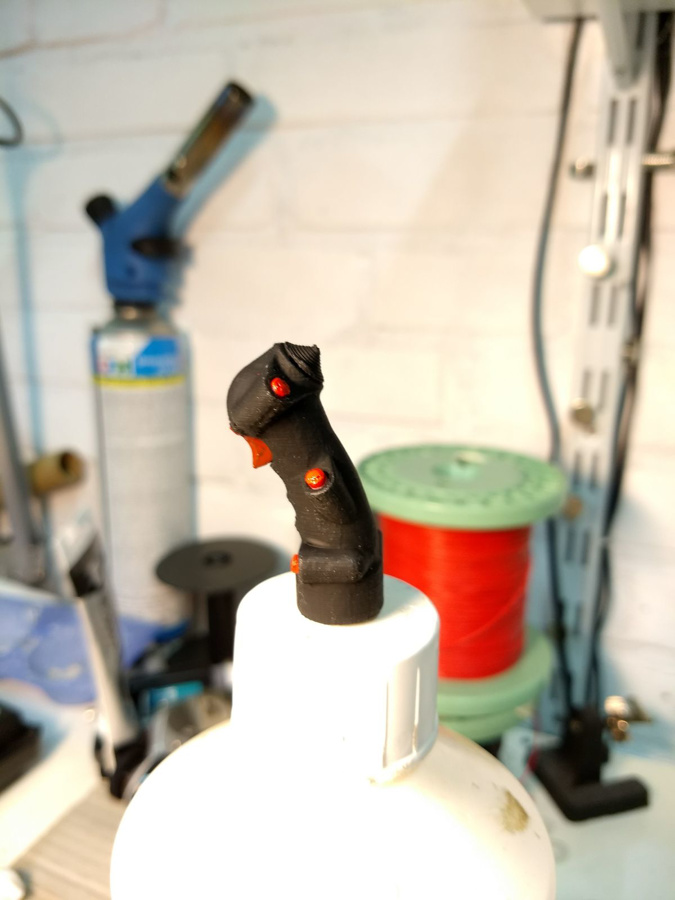
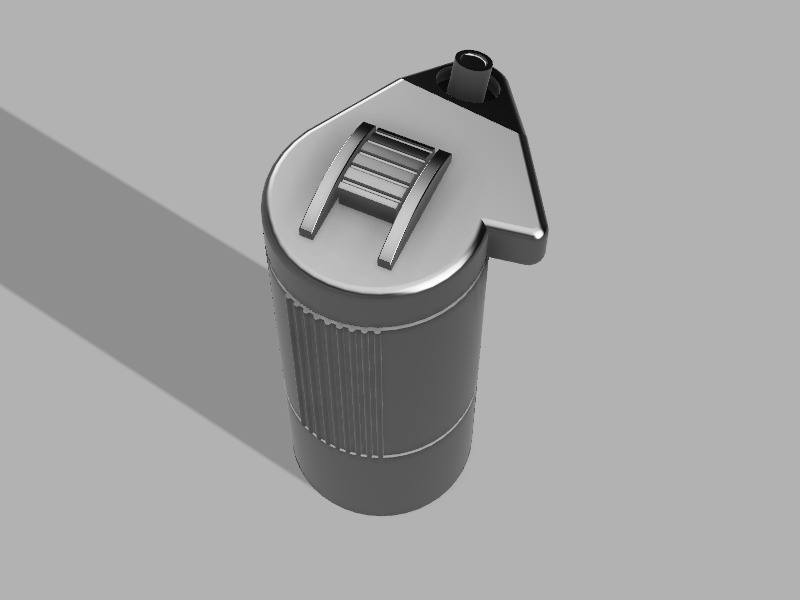
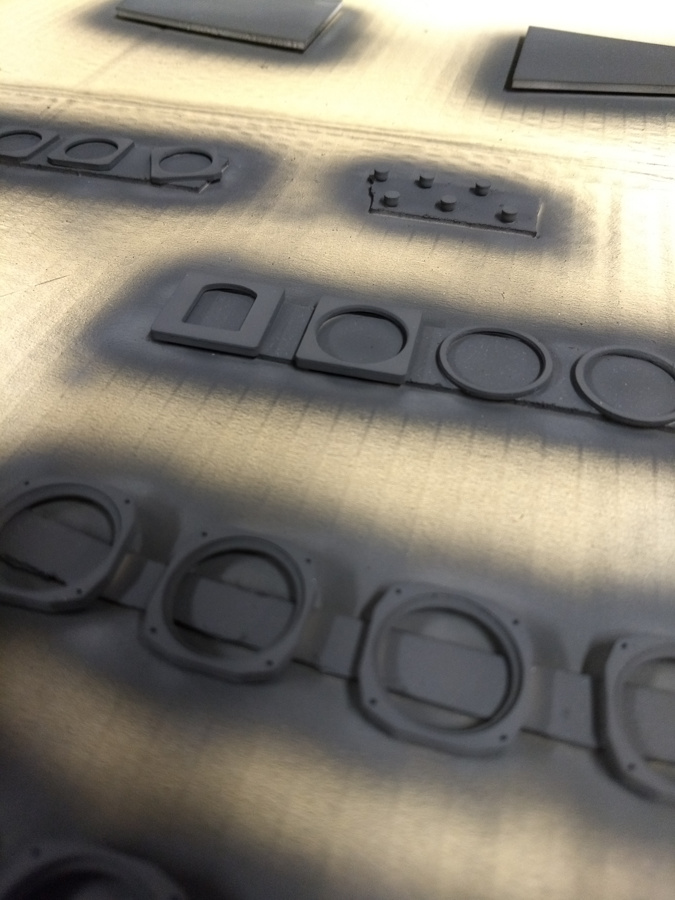
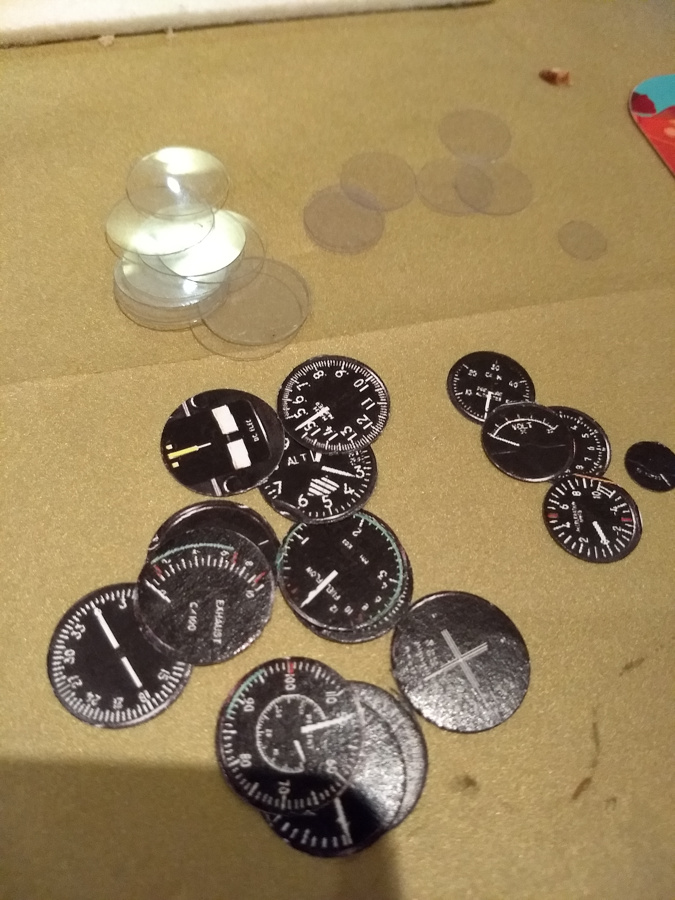
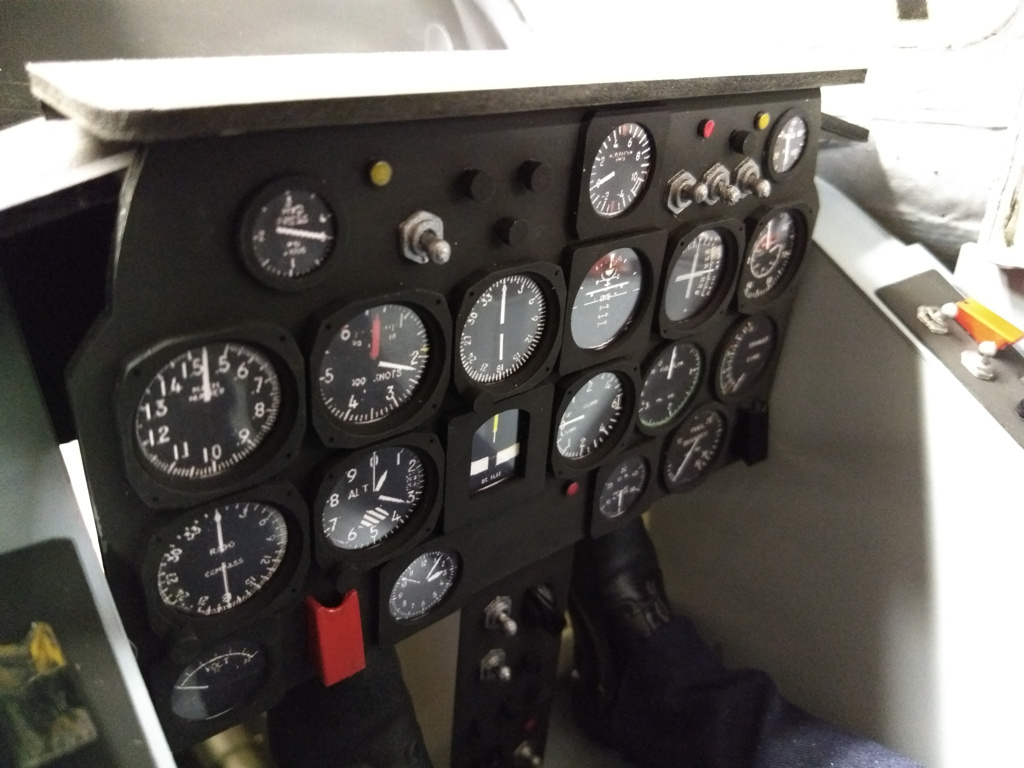
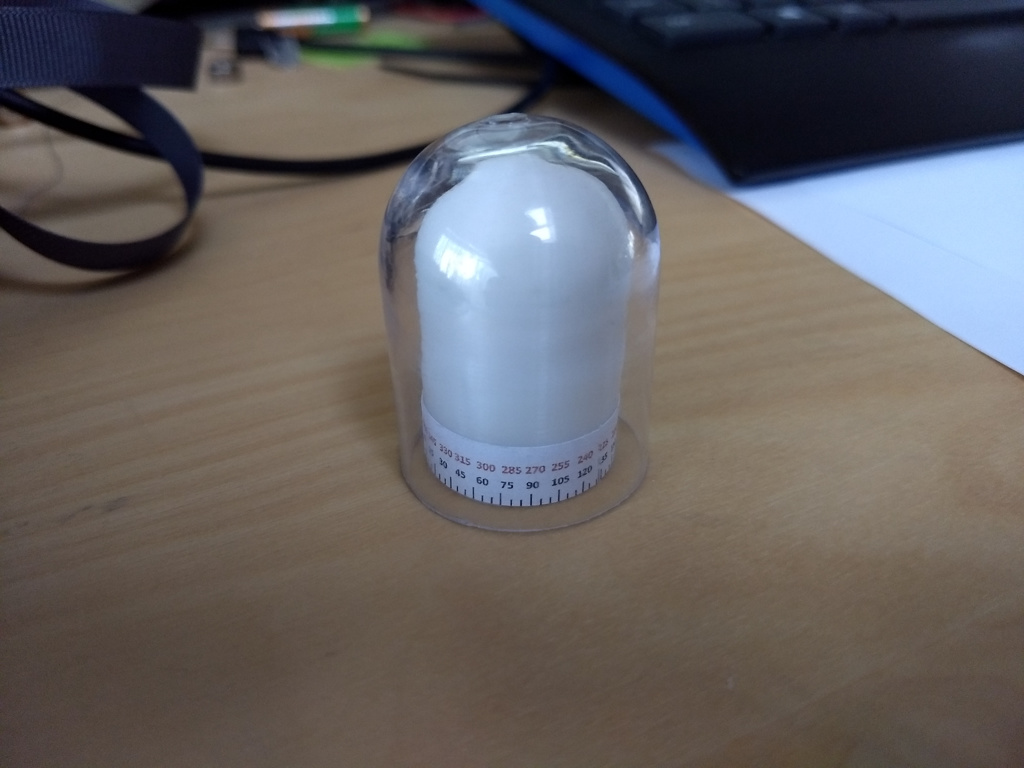
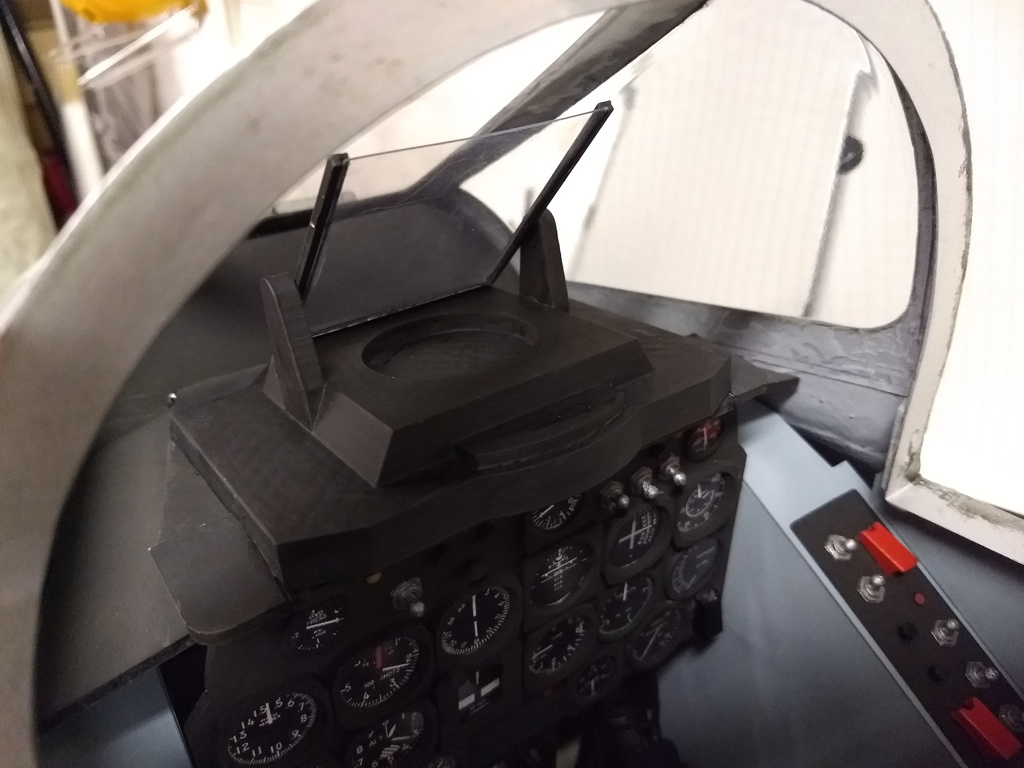
I will dust of the 3D printer to make some dials and switches. I hope the detail will be good enough.
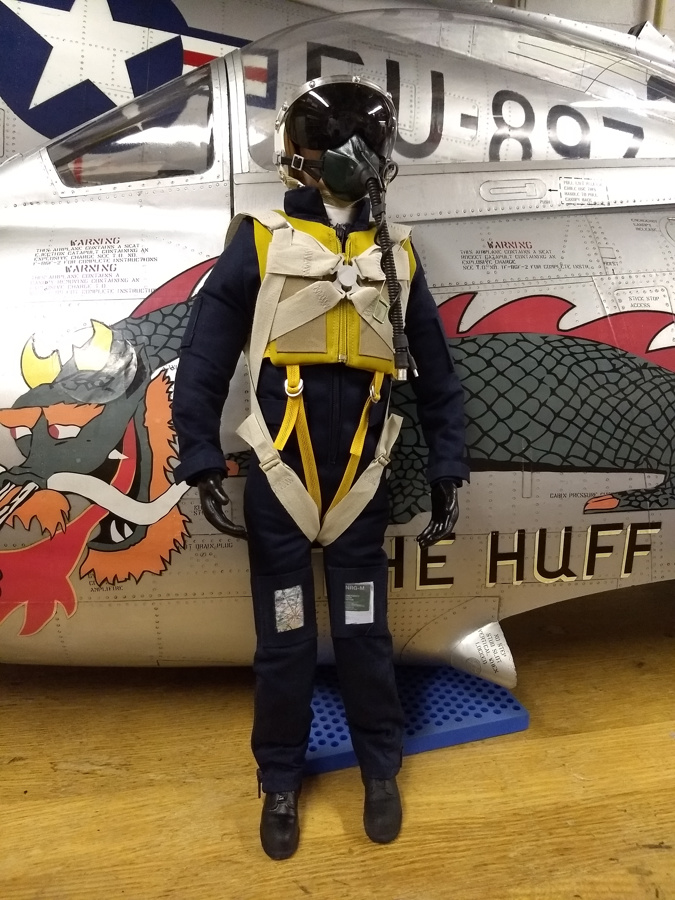
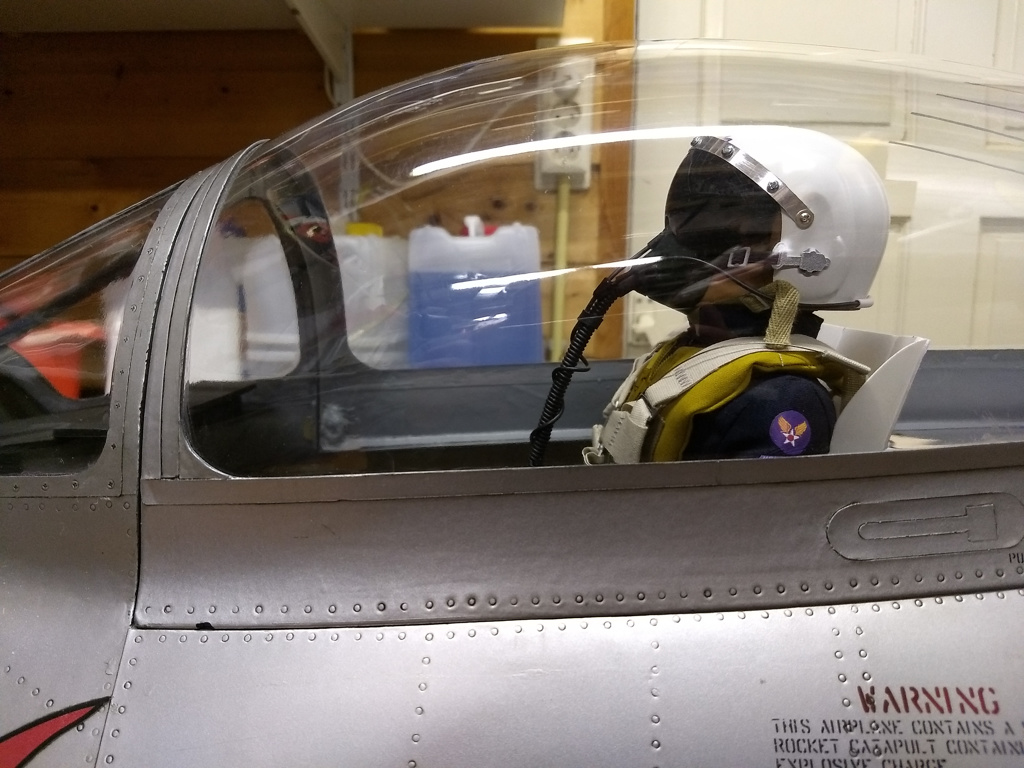
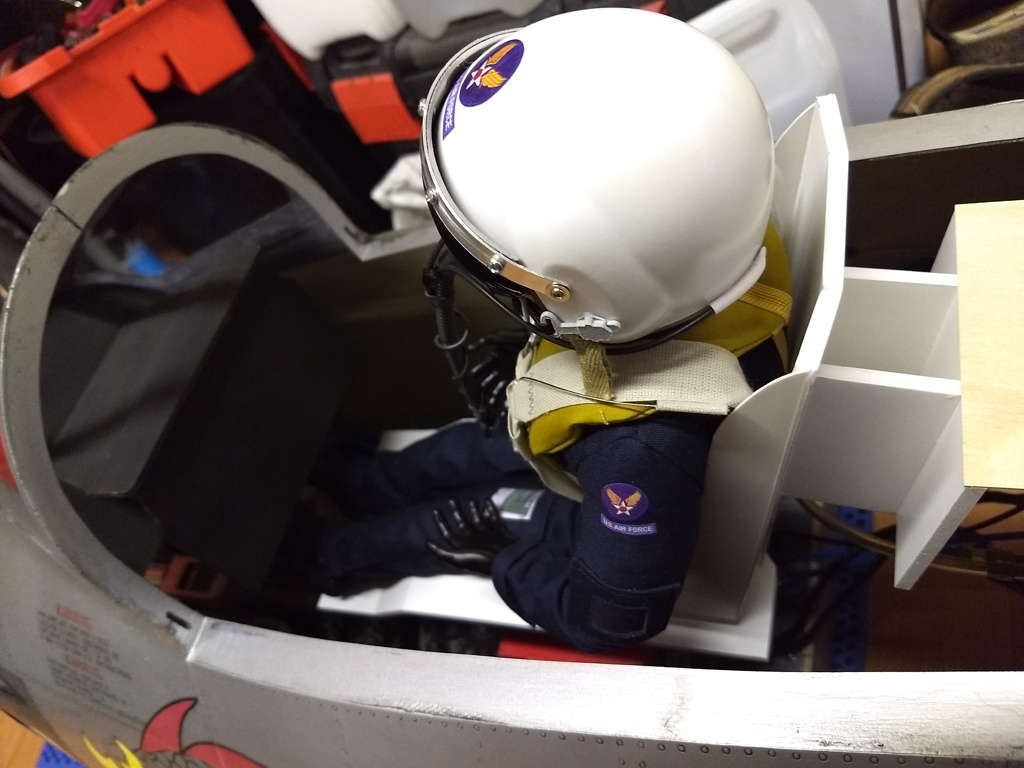
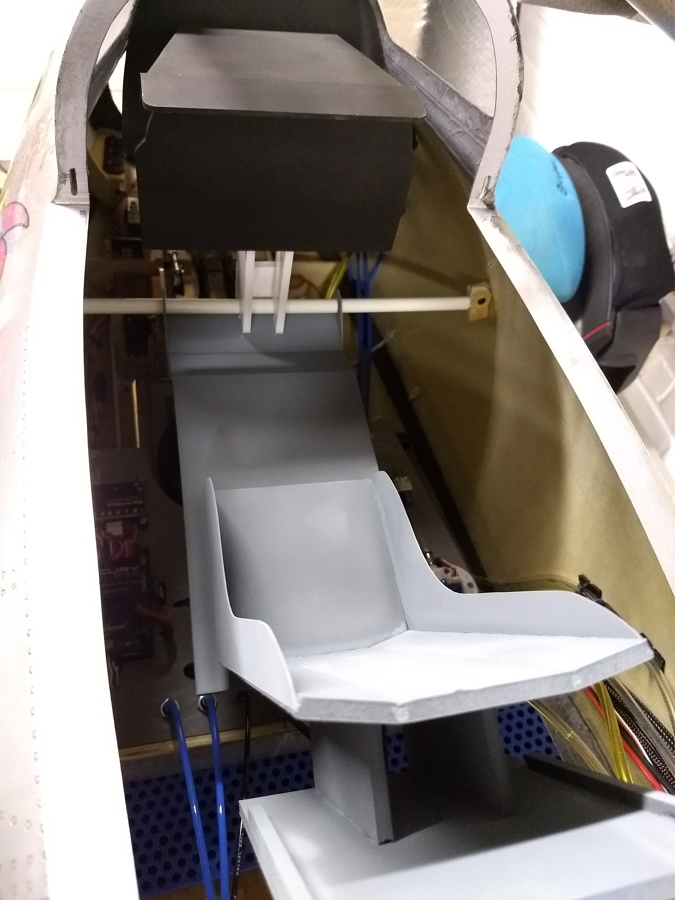
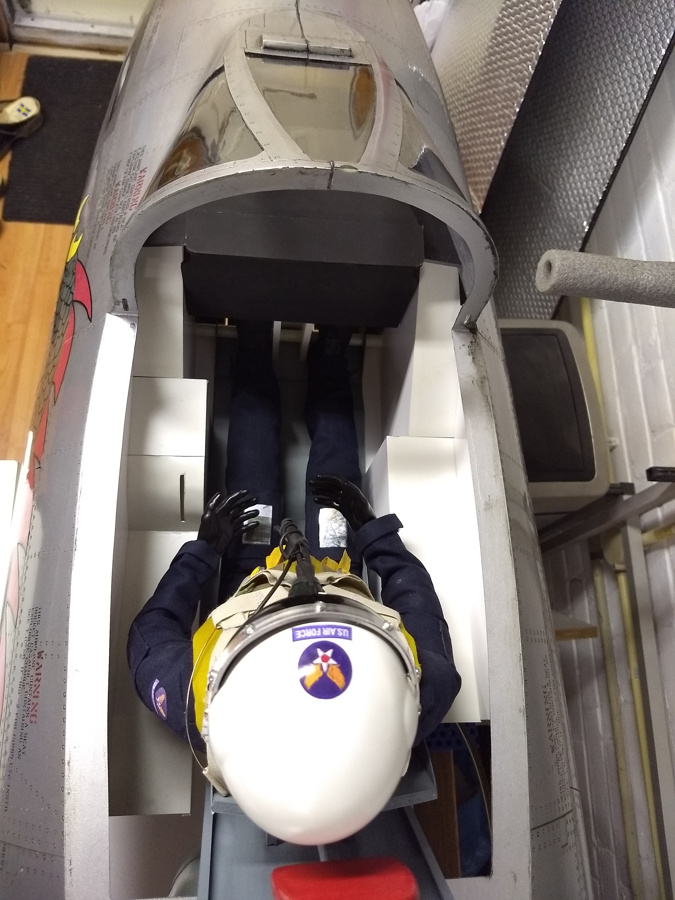
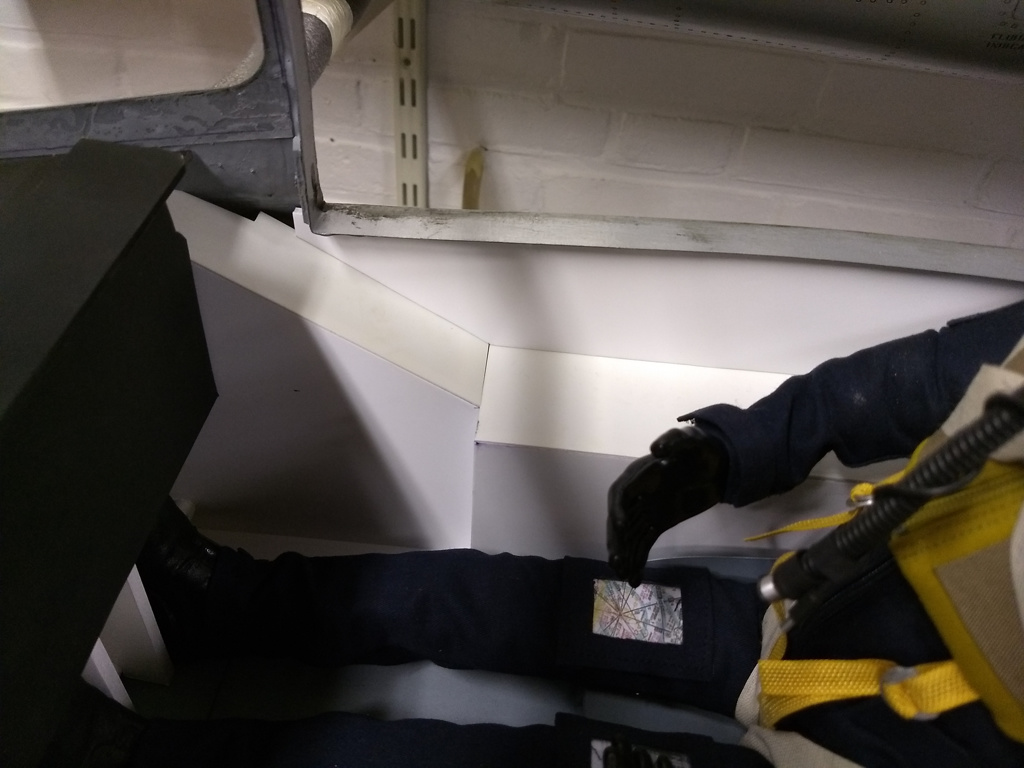
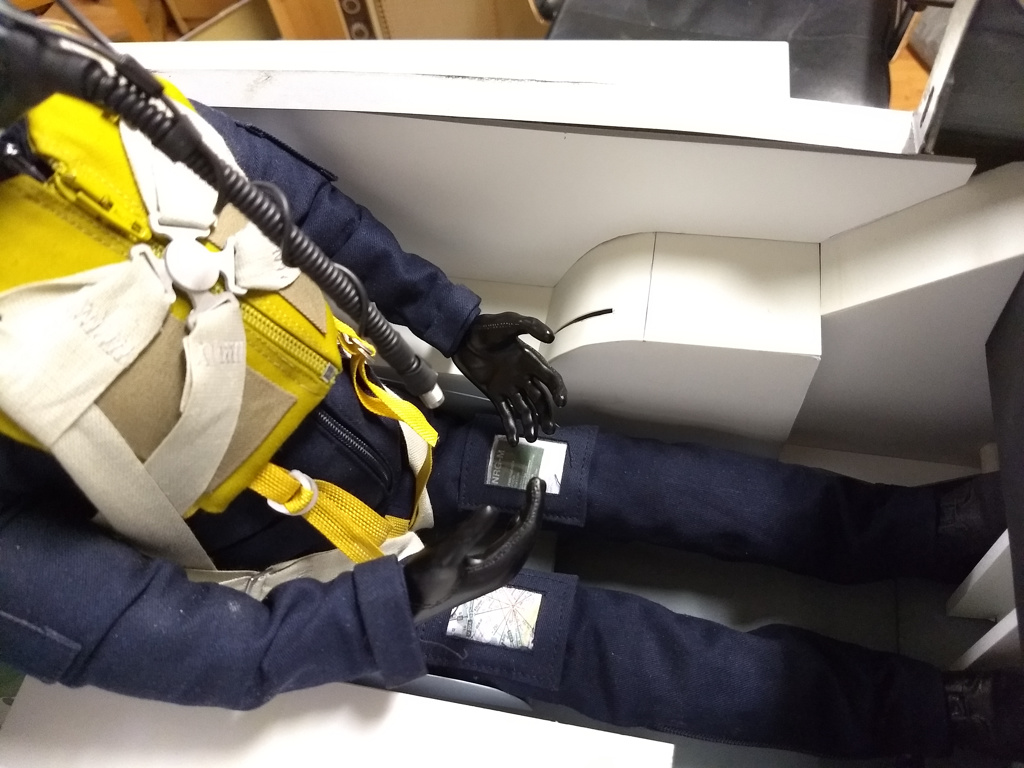
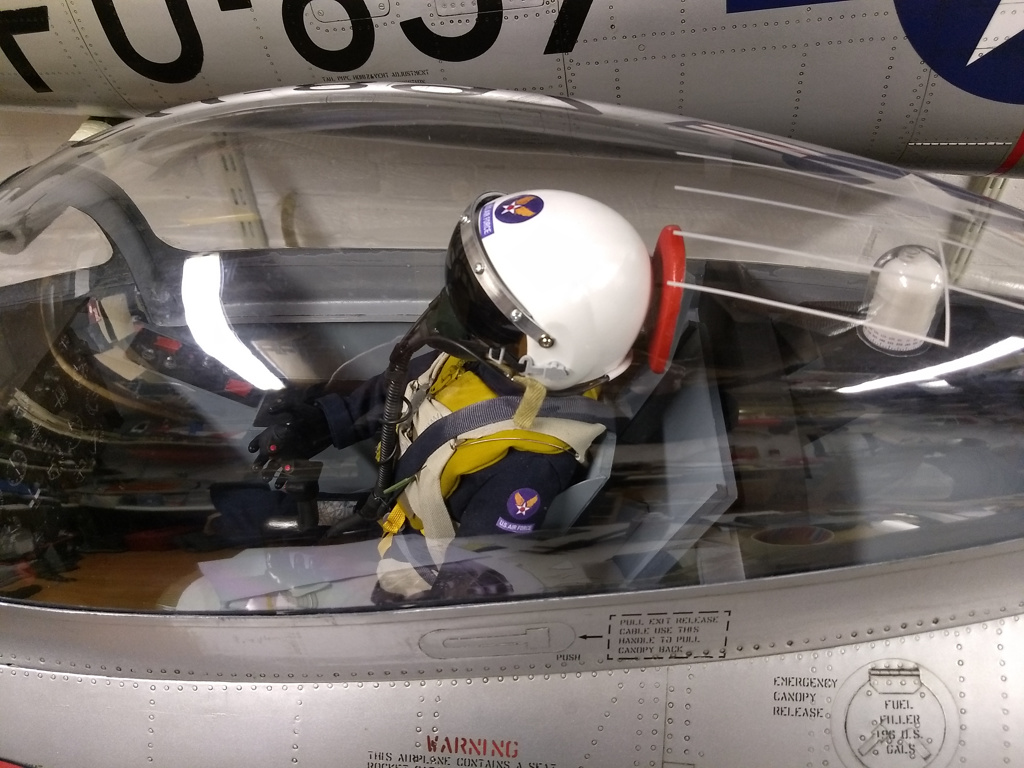
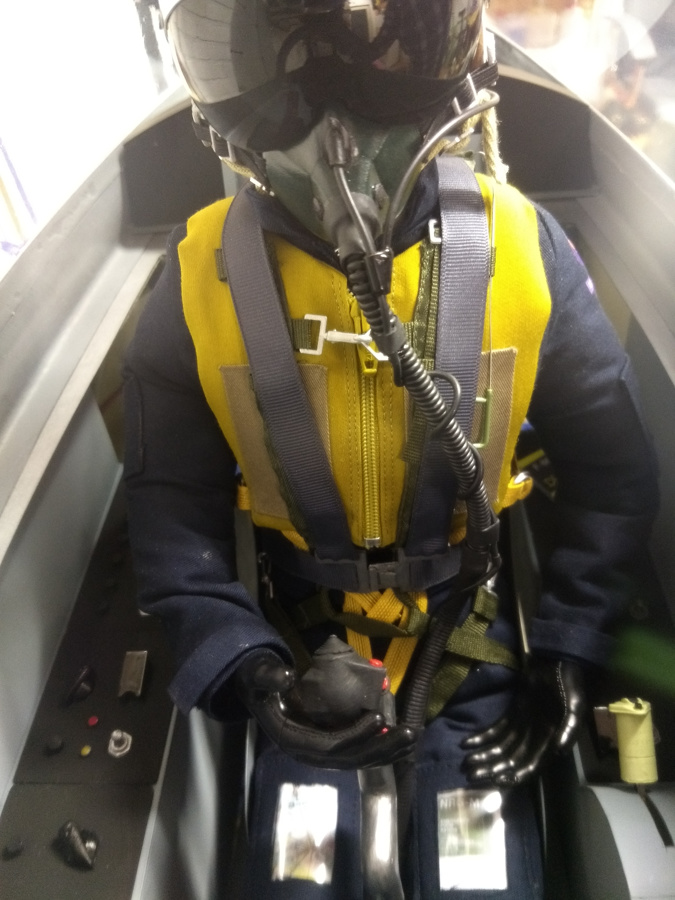
 
The pilot has arrived. The size is perfect but the hands look a bit weird... thin fingers.
IMG_20171218_170801595.jpg


I used the 3D printer to test if small items can be printed for the cockpit. It is very challenging but i managed to print a switch. The lego guy is here for reference..... Yes it is small :) The details in the switch are good enough for now. About 50% of the prints are usable at the moment. I will paint some to see how it looks. Time to build the cockpit :) I have the global layout and design ready. It should be easily removable.
IMG_20171218_185433406.jpg
 
Some parts for the cockpit:
IMG_20171224_200815005.jpg

IMG-20171226-WA0004.jpg

IMG-20171225-WA0000.jpg


The chair and all other cockpit parts can be removed easily. I will make the fastenings later. The rod in the front is the central connection for all pieces.
IMG_20171226_223115305.jpg

IMG_20171226_223216540.jpg

IMG_20171227_194716465.jpg


I also added the antenna on the canopy.
IMG_20171227_195034724.jpg


And put together for the first time after painting :)
IMG_20171229_133616376.jpg


IMG_20171229_134101942.jpg
 

Crazyfly

User
Looks great! :)

Felix
 
Thanks Felix.

The side panels in the cockpit are getting ready. The whole cockpit construction is designed without screws so it can be removed quickly when assembling the plane (if needed, only the main chair should be enough). The side panels are sliding in a mount in the rear and they center in the front on the tube. In the rear they cannot move inwards because the seat assembly keeps it in place. In the front they sit against the instrument panel and a stub on the tube.
IMG_20180103_222505937.jpg


The instruments are almost finished. I still need to make the smallest ones but i need to get another tool to make the glasses, was not in stock :( I will add the larger dials first this weekend.
IMG_20180103_222635025.jpg


IMG_20180103_222727685.jpg
 
The panels are ready.
IMG_20180104_224818466.jpg


IMG_20180104_224837876.jpg


IMG_20180104_224851968.jpg


The panels are painted and detailed. Not scale but it looks nice :)
IMG_20180106_194950515.jpg


IMG_20180106_195025505.jpg


IMG_20180106_195128126.jpg


Behind the canopy comes a few part. One of the most noticable parts is the loop antenna:
post-5311-1232330706.jpg

IMG-20180106-WA0002.jpg


IMG_20180106_151014185.jpg


I found the glass dome a the local dollar store. It was a puzzle in a tube.... the saw mad a nice dome.

After some more foambord and paint the rear looks something. The round black part is the motor and gearbox for the canopy mechanism.
IMG_20180107_214625226.jpg

IMG_20180107_214633575.jpg

IMG_20180107_214643635.jpg
 
Yesterday i missed the rearview mirror in the canopy so i made one. The position was a bit hard to find so i choose it myself. I drew a mirror and mount using the angles from a photo:
mirror.jpg


Then i printed the mirror in 2 parts. The side which has the mirror tape was printer on the glass bed of the printer and is perfectly flat. A drop of canopy makes a invisible connection to the canopy.
IMG_20180121_220152639.jpg

wow, look very nice you cockpit!😍
 
The harness that came with the pilot that supposed to be the parachute is wrong. The color, width and layout was not to scale. When cleaning the shed i found a 1:4 parachute that was complete and correct. It fits great. The pilot fits better in the seat but the headrest is a bit far from the helmet now. I will sort that out later.
IMG_20180203_214802772.jpg

IMG_20180203_214826640.jpg
 
Ansicht hell / dunkel umschalten
Oben Unten