Ripmax 1/6th scale Hawker Hunter

KSJets

User
I have the DS-94 HST 6745-700 that I was planning on using in the large BVM F-86 that I'm building but upon further inspection of the intake and exhaust openings, I found the exhaust opening on the F-86 so I ordered a DS-77 6745-700 HST for the F-86. I was looking for an airframe to put the DS-94 in when Ripmax released the 1/6th scale Hawker Hunter. I ordered one and it arrived a couple of weeks ago. I've been converting it as time permits. Here's what I've done so far:

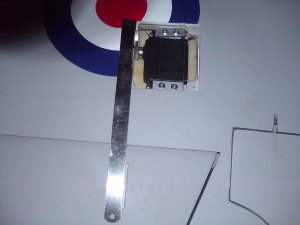
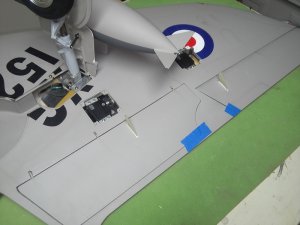
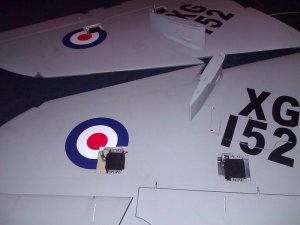
The first thing I did was remove and clean the main gear. They were covered in something gritty but I'm not sure if it was sand or what it was. I'm using Futaba S9072SB servos on all surfaces except the elevators which will be JR DS3421. The aileron and flap servos were programmed and a sbus cable was run into each wing. The servos were plugged in to the sbus cable and they were tested for proper operation. The servo mounting tabs needed a small bit of adjustment in order to get the servo arm to line up with the control horn slots in the ailerons and flaps. I used a small straight edge to accomplish this. Lastly, the pylons were attached to the wings.
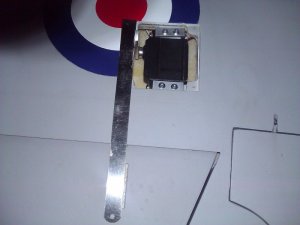
WP_000016.jpgWP_000017.jpg
 

Anhänge

  • WP_000017.jpg
    WP_000017.jpg
    130,4 KB · Aufrufe: 56
  • WP_000016.jpg
    WP_000016.jpg
    113,5 KB · Aufrufe: 120

KSJets

User
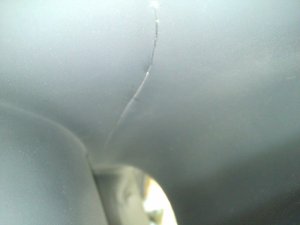
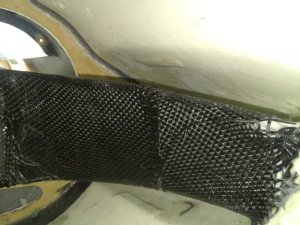
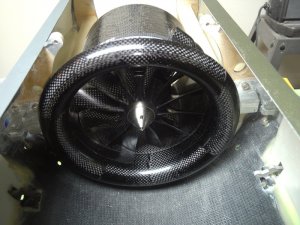
I was taking measurements of the ducting when I found a split in the upper section of the left duct (Photo 1). The top of the ducting on both sides are very thin and flimsy. This may be ok for turbine use but it will not hold up to EDF use. I put carbon fiber cloth around the ducting very wher I could get epoxy but the area is very tight and I wasn't able to wrap the cloth around the ducting in some areas (Photo 2). The ducting is now much stiffer but not as stiff as it needs to be to run a closed ducting system so I'll be going with the open ducted system.

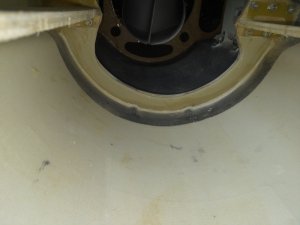
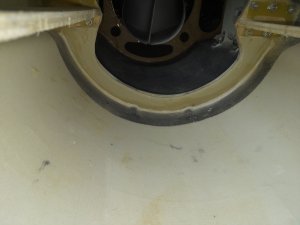
The former where the forward section of the mounting rails plug into was too tall to clear the fan so it needed to be trimmed. The rear wing spar also plugs into this former so it needed to maintain strength after it was trimmed. I made a front a rear half former out of 1/8th inch G-10. Man, this stuff is tough to cut. I had to rough cut it with a cut off wheel and grind it to shape with a dremel and a carbide sanding drum. Once they were shaped, I sanded both sides with 80 grit and hysoled them to the bottom front and rear sides of the former. After the hysol set, the ply former was trimmed down to the G-10 (Photos 3 & 4).

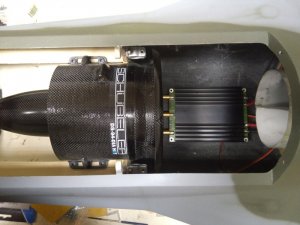
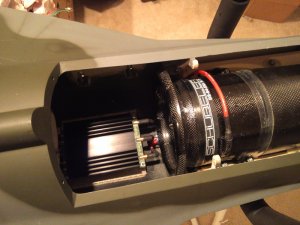
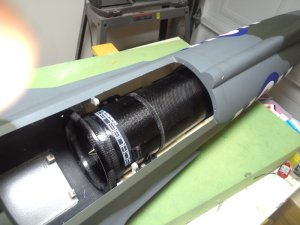
Last couple of photos shows where the fan and controller are going to go.

WP_000018.jpgWP_000019.jpgWP_000020.jpgWP_000025.jpgWP_000045.jpgWP_000046.jpg
 

Anhänge

  • WP_000018.jpg
    WP_000018.jpg
    194,1 KB · Aufrufe: 107

KSJets

User
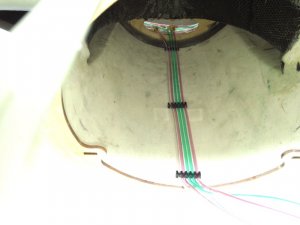
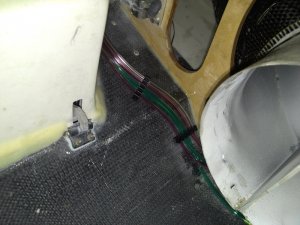
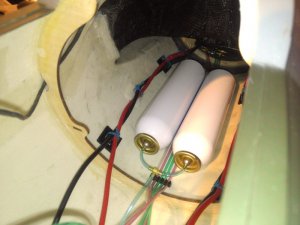
As I mentioned in an earlier post, the air lines in the wing were replaced with the air line I use. I did the same in the fuse and ran the air lines to the nose and main gear doors. The nose and main gear air lines were also replaced. I need to install the air tanks and hook up the air lines to the air valve to finish out the air system. I'll do this after the equipment trays are ready to be installed (Photos 1 & 2).

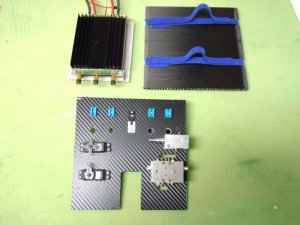
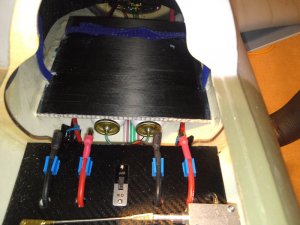
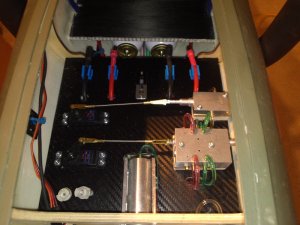
I laid out the rear equipment tray and cut the holes for the servos, air lines, etc. The sticky backed simulated carbon fiber covering was placed on the tray and the equipment was mounted onto the tray. I made up the battery tray out of 1/4 inch carbon fiber/nomex sandwich material. I made up the controller tray out of 1/4 inch fiberglass/nomex material (Photo 3).

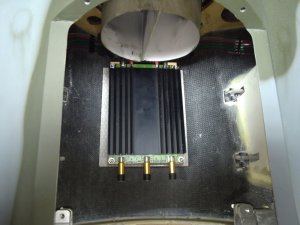
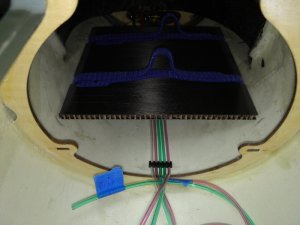
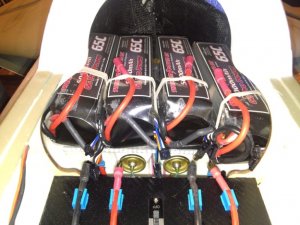
The rest of the photos show the pacement of the trays. The battery tray goes in the area where the fuels tanks go. The controller tray goes between the fan and the intake ducting with the cooling fins sticking into the air flow from the intake ducting as recommended from DS. Both trays will be hysoled in place later (Photos 4 - 6).

Kirk

WP_000095.jpgWP_000096.jpgWP_000097.jpgWP_000098.jpgWP_000099.jpgWP_000108.jpg
 

Ulti

User
Hi KSJets

Great projekt !!!
Please keep us informed !!!!


Greets........................................Olli...............................................
 

KSJets

User
I've made more progress. Up until now, I've always used a piece of rolled up mylar as a thrust tube but with the amount of thrust this fan produces I didn't think mylar would last very long before blowing its self apart. I made a thrust tube using a sheet of .005 G-10. I rolled the G-10 around templates on both ends to give me the size openings needed and glued the overlapping edges together. Then the tube was sanded and one layer of 6 oz carbon fiber cloth was epoxied around the tube. I added mounting tabs made from 1/8th inch G-10 to the sides of the thrust. At 40 inches long, this is one long thrust tube that won't blow apart :) I also hysoled all of the control horns in place.
Kirk

WP_000113 - Copy.jpgWP_000116 - Copy.jpgWP_000118 - Copy.jpg
 

KSJets

User
I've completed the install. Weight without flight packs is 25 pounds and 33 pounds with the flight packs.

Photo 1 - The controller is ready to install. Extra caps were added to help handle voltage ripple caused by the long battery leads. The ends have been insulated with a liquid insulating paint on rubber.

Photo 2 - Fan and controller installed and ready to run.

Photo 3 - The air tanks and battery leads.

Photo 4 - Battery tray installed above the air tanks.

Photo 5 - Equipment tray is installed.

Photo 6 - Four 7 cell, 5000 mAh packs sitting on the battery tray.

We took the Hunter out to a parking lot where I work and ran the fan for the first time and taxi tested the Hunter. All I can say is this is a seriously powerful fan. The parking lot is on a hill and the Hunter was accelerating taxiing uphill. When we put the canopy and hatch cover on and ran to half throttle, it started deforming the fuse. It was something else to see the fuse get sucked in on itself. Anyone who has one of these can attest to how thin the fiberglass is in the rear fuse section. I'm looking into ways to depressurize the fuse.

Kirk

WP_000123.jpgWP_000163.jpgWP_000151.jpgWP_000169.jpgWP_000171.jpgWP_000183.jpg
 
Zuletzt bearbeitet:

KSJets

User
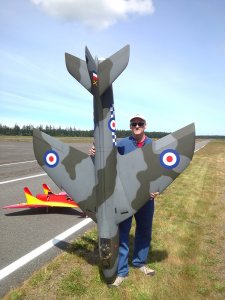
I maidened the Hunter today. What an awesome flying plane :)

Here's the flight report:
Full throttle was used on the takeoff and during a vertical at 2:30 in the video. The rest of the flight was at half throttle including the low flybys. The elevator was out of trim and it needed some down. Two clicks of left aileron were added. Once trimmed, the Hunter was a smooth and docile and a dream to fly. The maiden lasted 3 minutes and 4800 mAh were consumed. I have 10,000mAh so 5 minute flights are doable with some to spare for a go around. I can't wait to fly it again.

Kirk

WP_000245.jpg

 
*cracy*funky*cool*

What an awesome plane! I´m really impressed. Such a huge plane flying edf powered is just amazing!

Many many happy landings with that bird!

Greeeeetz,

Stefan
 
Ansicht hell / dunkel umschalten
Oben Unten