Du verwendest einen veralteten Browser. Es ist möglich, dass diese oder andere Websites nicht korrekt angezeigt werden.
Du solltest ein Upgrade durchführen oder einen alternativen Browser verwenden.
Du solltest ein Upgrade durchführen oder einen alternativen Browser verwenden.
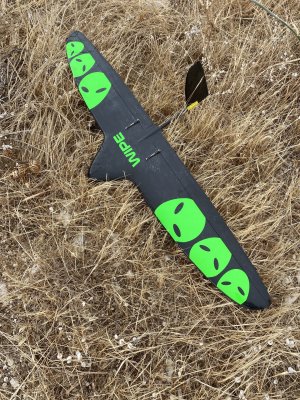
BWB Brett basierend auf Wipe
- Ersteller Marc Frank
- Erstellt am
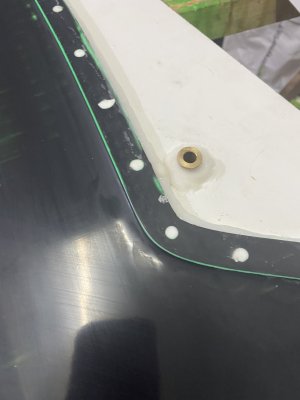


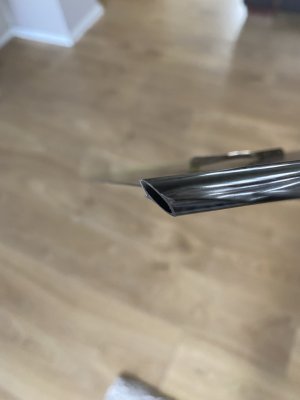
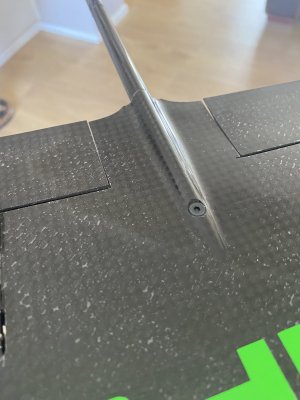
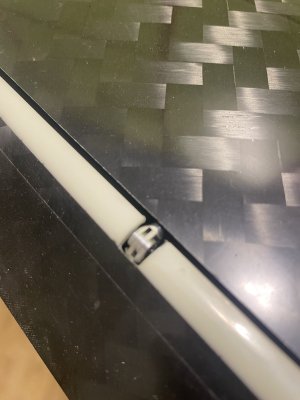
Fix tail with 45 degree cut
“anti-rotation”
“anti-rotation”
Anhänge


Marc Frank
User
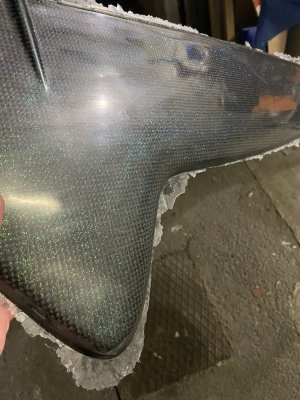
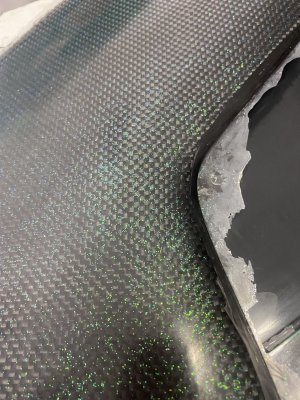
That glitter looks pretty cool, fits the alien theme well ")
I thought about using this:
 kandydip.de
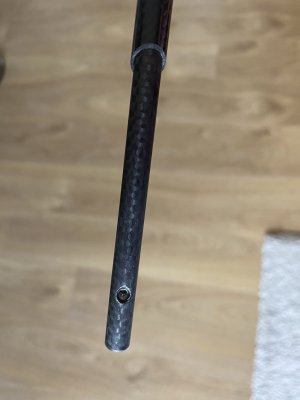
Your tail mount is great, too!
Are you sure the noise is because of the servo placement? On the first one you used simple wire pushrods, now you have those double clip things ...
You might want to try these:
 www.servorahmen.de
For a linkage that is completely internal.
www.servorahmen.de
For a linkage that is completely internal.
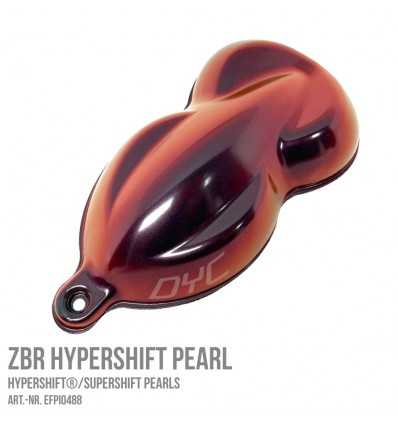
I thought about using this:
ZBR HyperShift® Pearl - Hypershift® / SuperShift®
Produktbeschreibung DIPON® Effect Pigments DIPON® Effektpigmente bestehen aus drei Pigmentklassen: Absorptionspigmente, Perlglanzpigmente sowie Metalleffektp...
kandydip.de
Your tail mount is great, too!
Are you sure the noise is because of the servo placement? On the first one you used simple wire pushrods, now you have those double clip things ...
You might want to try these:
Servorahmen.de | IDS Typ MKS 6100 | online kaufen
IDS Typ MKS 6100 - IDS System für MKS DS 6100 Glider, HV 6100, DS 450, DS 470 und DS 480 Servos. Im nächsten Schritt wähle deine gewünschte Schubstange aus. Wir bieten für IDS Typ MKS 6100 vier versch
www.servorahmen.de
Hi, Mark
I build wet on wet do not paint, I add glitter in the resin
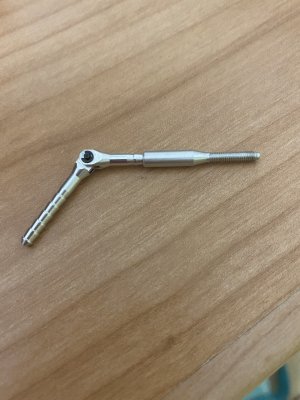
IDS System
you don't have much space to mount the servorahmen IDS
unless you make big holes
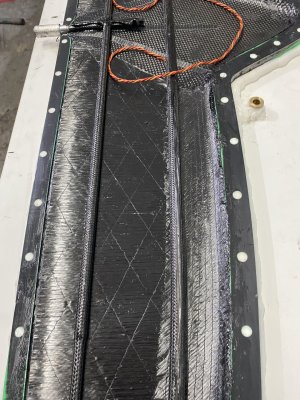
the self-built IDS system with mj-jet aluminum hinges
Gery
I build wet on wet do not paint, I add glitter in the resin
IDS System
you don't have much space to mount the servorahmen IDS
unless you make big holes
the self-built IDS system with mj-jet aluminum hinges
Gery
Anhänge

Marc Frank
User
The hypershift pigment can also be used in resin.
If the servos are installed before closing the mold, there is no need for access holes. But then you have to wait for the two halves to cure first.
The MKS DS6100 is 10mm tall, I don't think it would fit in your 80% Wipe anyways.
But your DIY IDS looks very professional! You give up on the bearing in the frame, but I don't think that matters much.
If the servos are installed before closing the mold, there is no need for access holes. But then you have to wait for the two halves to cure first.
The MKS DS6100 is 10mm tall, I don't think it would fit in your 80% Wipe anyways.
But your DIY IDS looks very professional!
You give up on the bearing in the frame, but I don't think that matters much.
Marc Frank
User
Marc Frank
User
Der nächste Druck läuft auch schon.
2 Tage 12h und 1kg, für den inneren Teil der Außenflügel (einen der beiden)
3 Umrandungen mit 0.5mm, 0.3mm Schichten, 10% Gyroid Infill
2 Tage 12h und 1kg, für den inneren Teil der Außenflügel (einen der beiden)
3 Umrandungen mit 0.5mm, 0.3mm Schichten, 10% Gyroid Infill
Marc Frank
User
I'm printing at 100%.
My printer is the Mingda Magican Pro (400x400x400mm build volume).
I resectioned the pieces to make use of the full Z height.
My printer is the Mingda Magican Pro (400x400x400mm build volume).
I resectioned the pieces to make use of the full Z height.
Marc Frank
User
Nasses Bandschleifpapier geht ganz gut um Verzug im Druck vom Abkühlen zu entfernen.
Die einzelnen Teile hab ich mit Sekundenkleber zusammengeklebt.
Dann mit Epoxy auf 8mm Furnierplatte Buche. Hier ist auch schon Primer drauf.
Den hab ich dann mit einem Tellerschleifer und Akkuschrauber runtergeschliffen.
An dem linken Stück hatte ich schon probiert die Rillen mit Sekundenkleber zu füllen und schleifen.
Geht auch, aber teurer, langsamer und mehr Arbeit.
Bin noch am Überlegen, ob es nötig ist, über die geschliffene Oberfläche noch 2k Lack zu machen.
Der Primer ist eigentlich hart genug und Polieren geht bestimmt auch,
Marc Frank
User
2k Lack mache ich morgen drauf.

Fürs kolorieren hatte ich an sowas gedacht.
Bin mir aber nicht sicher, ob die weißen Streifen auf der Unterseite noch weiter nach innen sollten.
Fürs kolorieren hatte ich an sowas gedacht.
Bin mir aber nicht sicher, ob die weißen Streifen auf der Unterseite noch weiter nach innen sollten.
Marc Frank
User
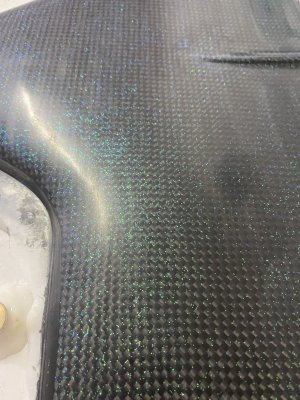
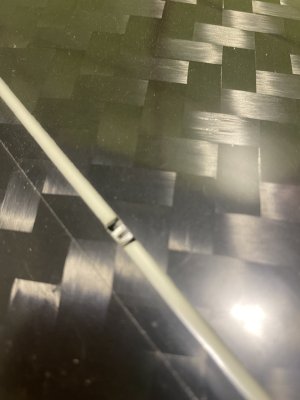
Sieht auf dem Bild ein bisschen komisch aus, ist aber sehr glatt. Man kann sich drin spiegeln.
Marc Frank
User
Ähnliche Themen
- Antworten
- 0
- Aufrufe
- 69K