North American F-86 Sabre (Tomahawk)

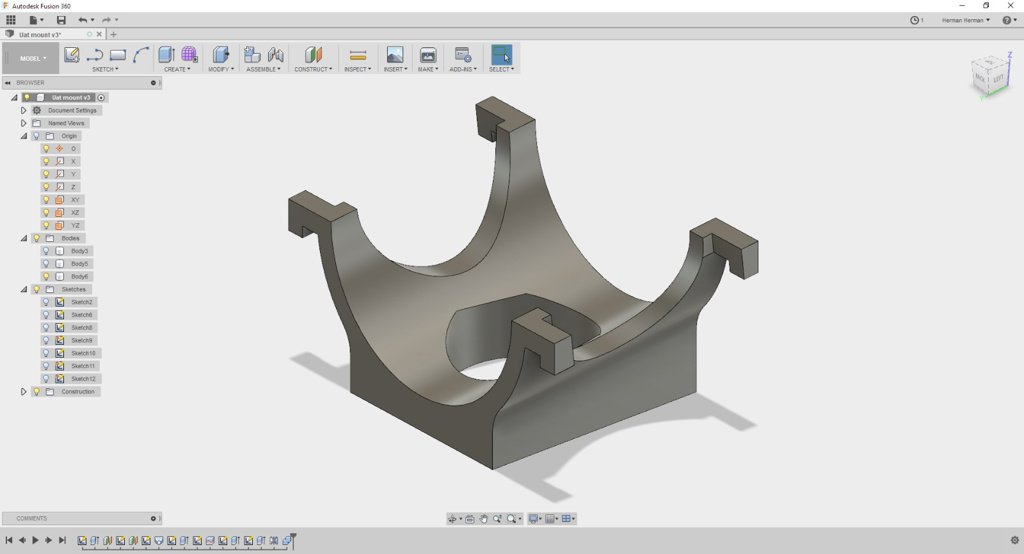
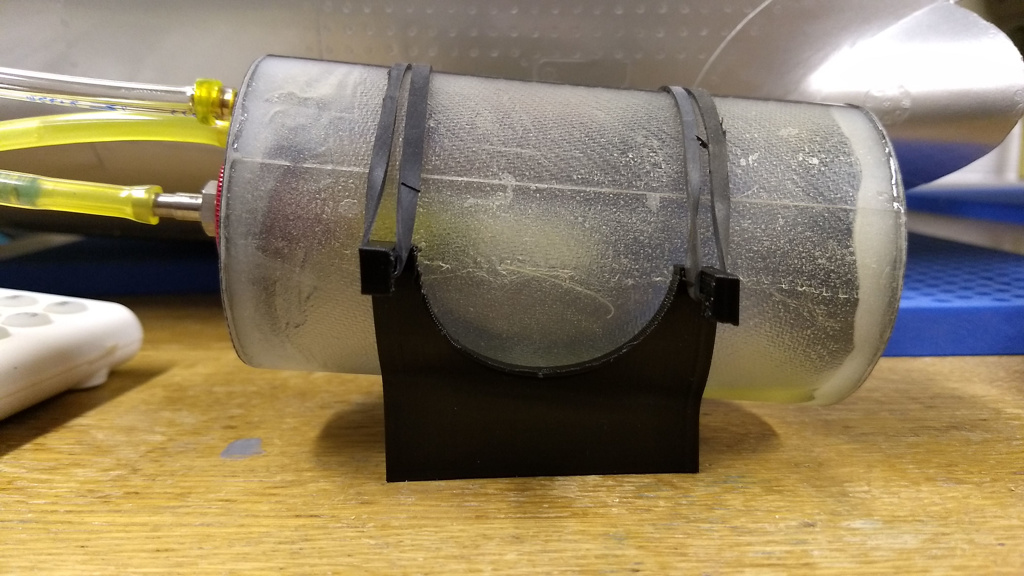
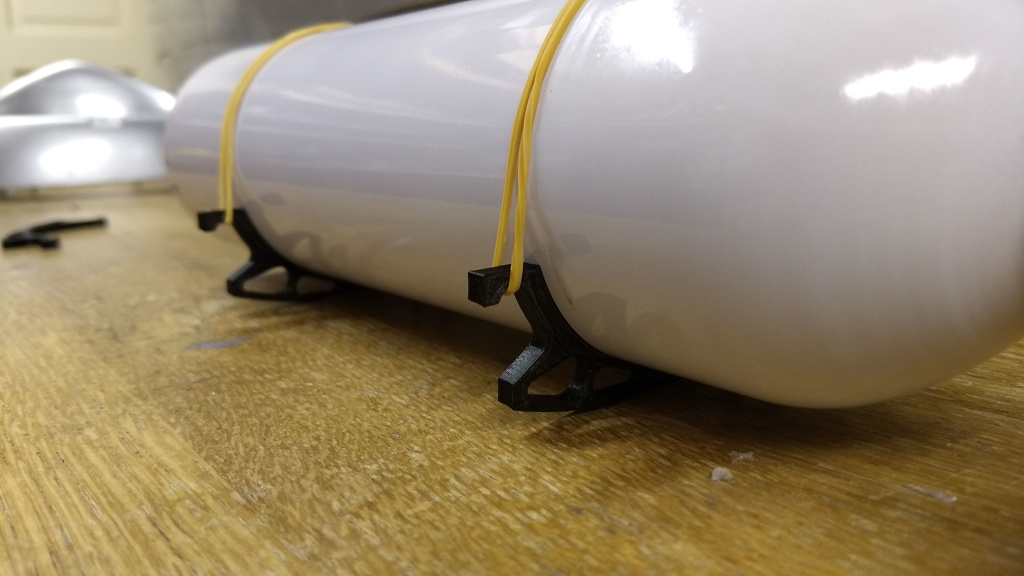
I created mounts for the air tank. It will be mounted in the top of the nose.
IMG-20170911-WA0002.jpeg


IMG_20170913_072618906.jpg


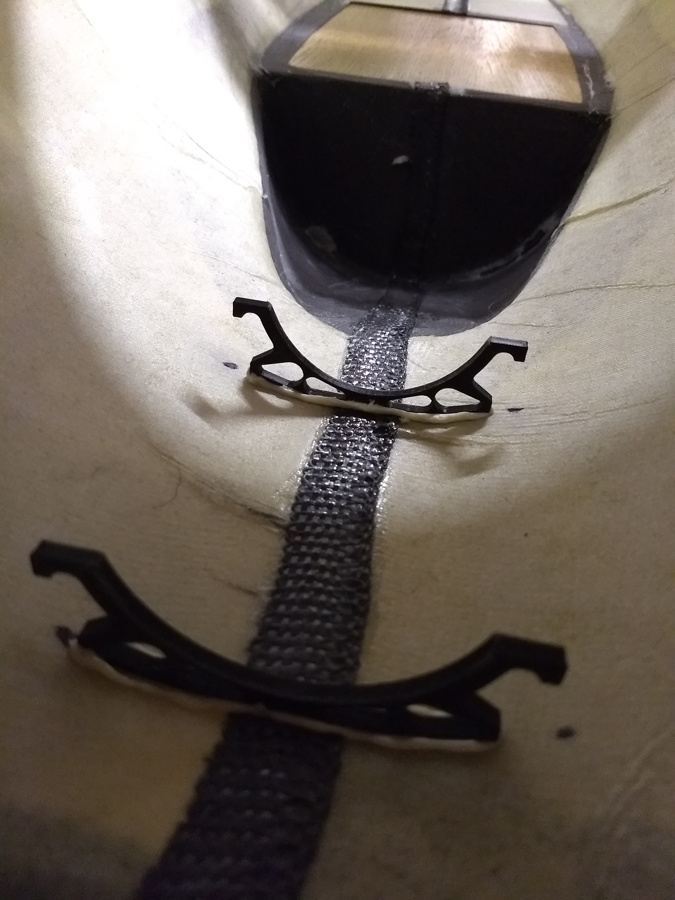
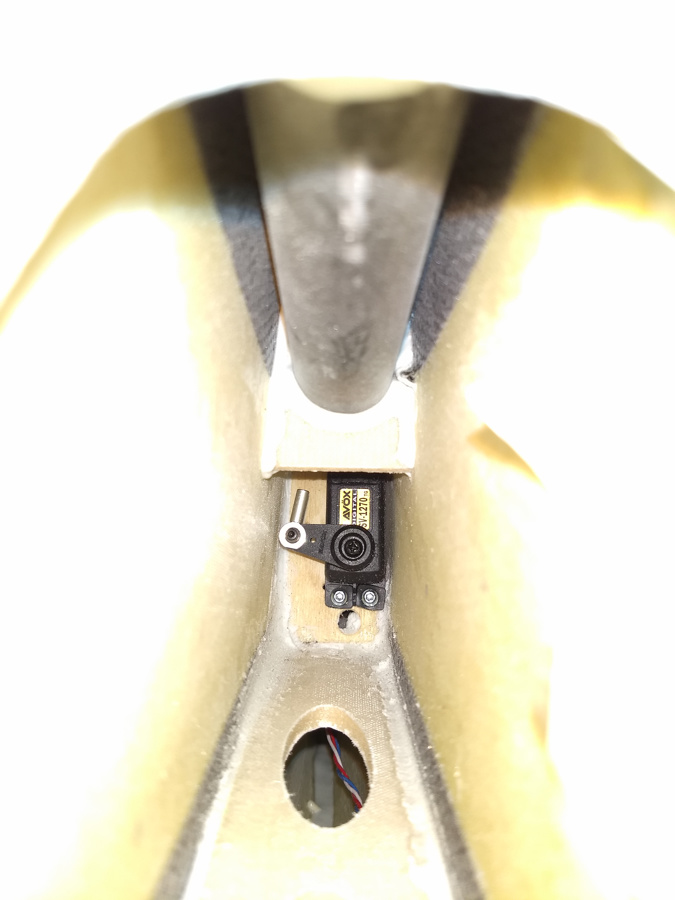
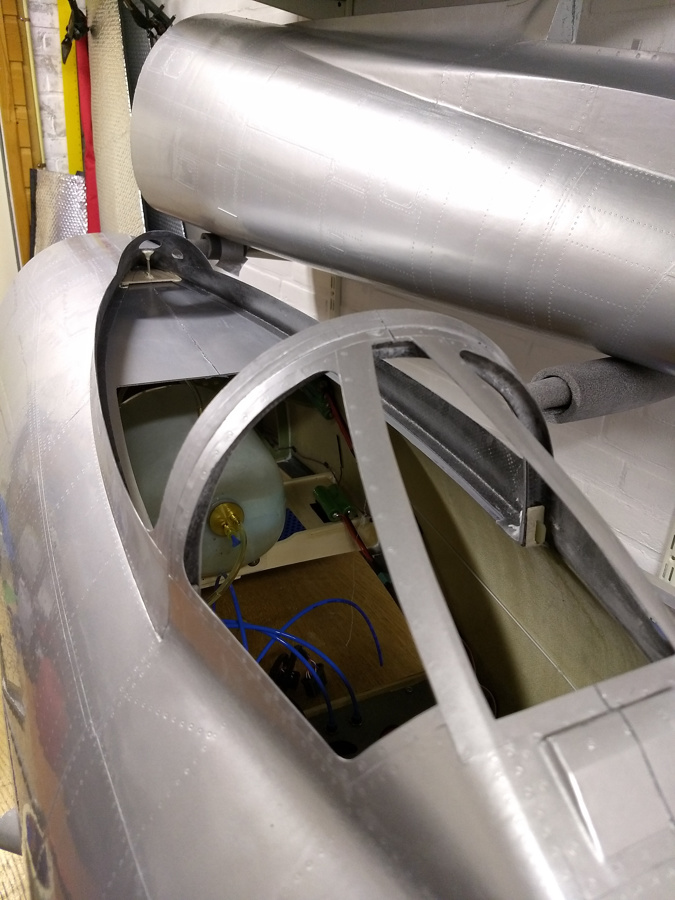
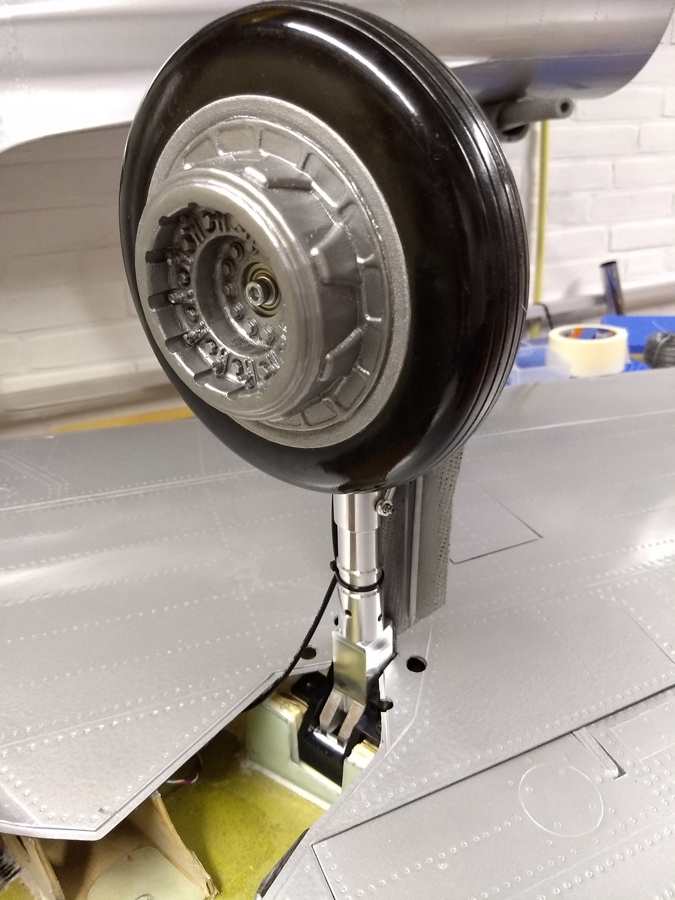
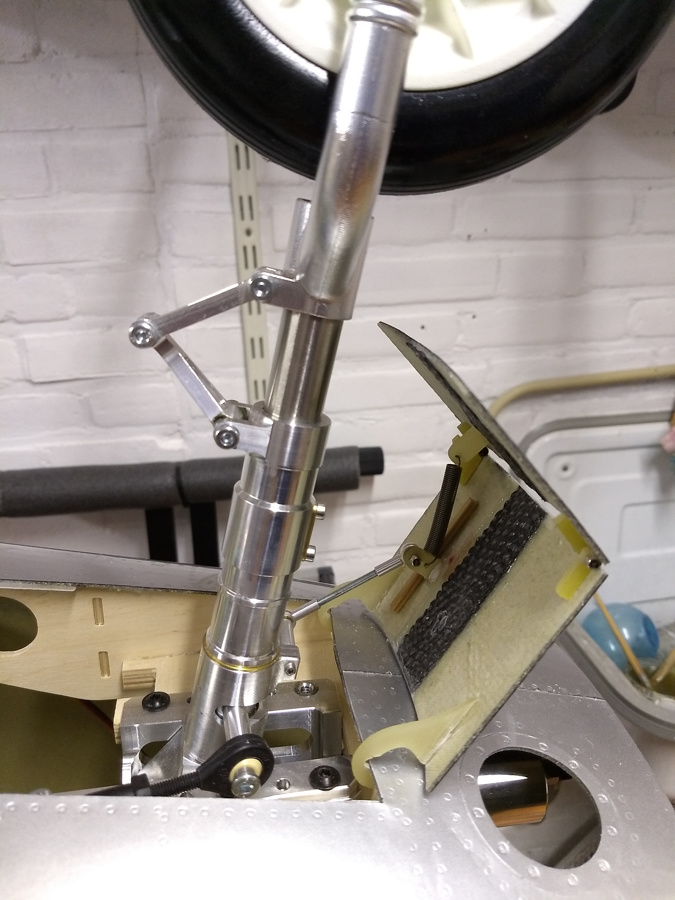
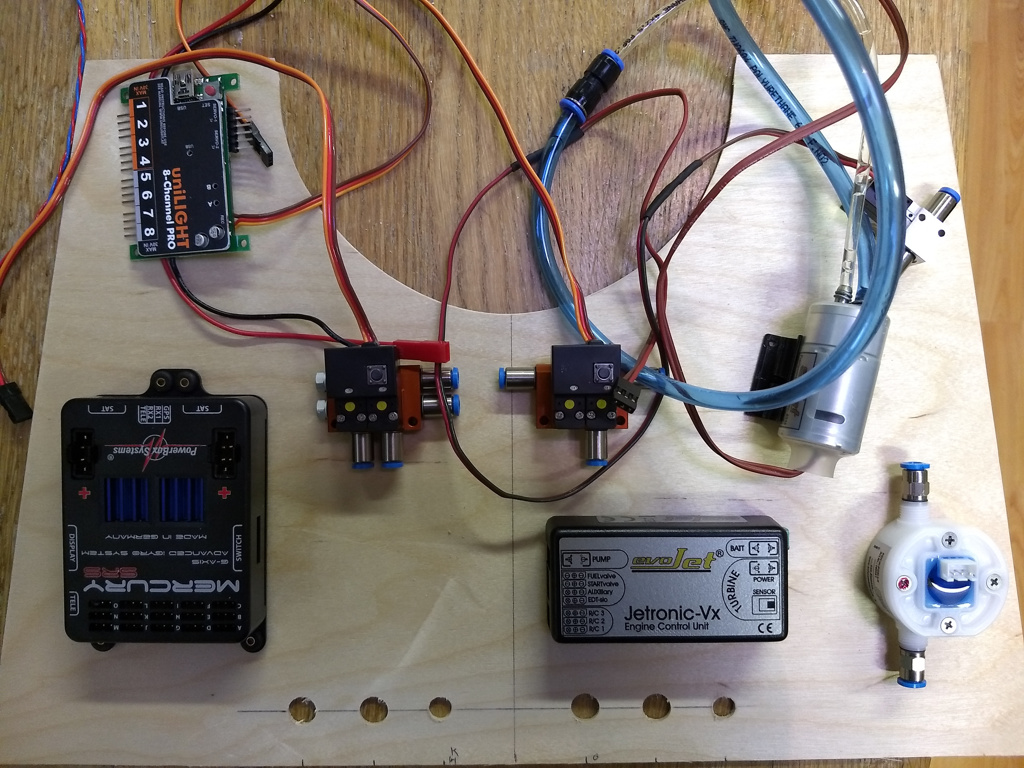
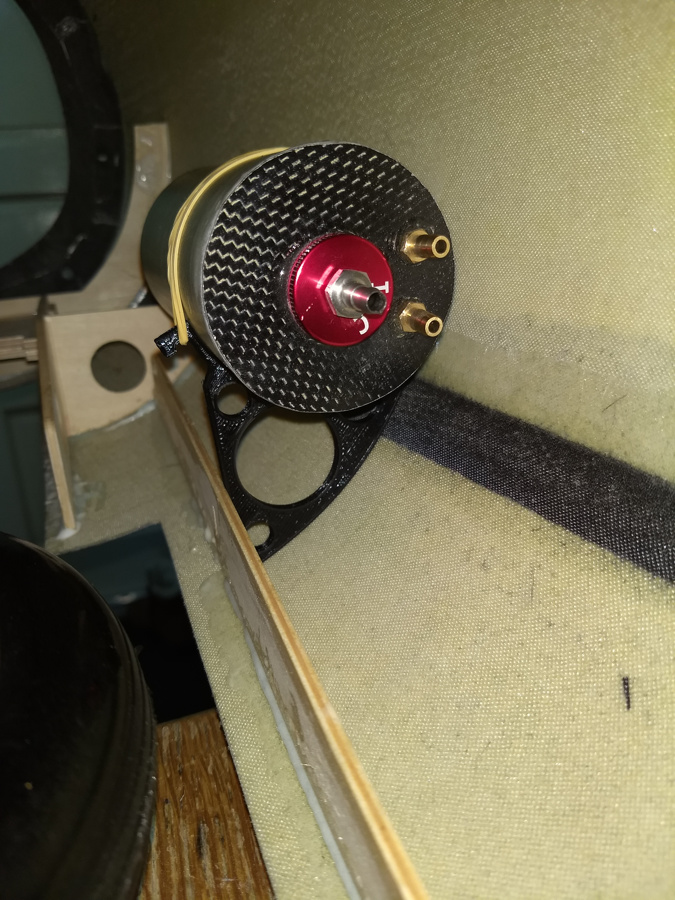
I also created a mount for the UAT. It will be mounted next to the nose wheel. More forward is not possible because there will be servo's for the lights, batteries and more things placed in that location. The connectors will point to the front because that is the highest point and is better to get the air out. The fuel tubes run back through the mounts to the pump and tank.
IMG_20170912_192343309.jpg
 
I am working on the wings. The lights in the set i got with the plane do not have the right shape so i had to make my own covers. I thought about making a mold using balsa but got another idea.

I opened the hole for the light and created a reference image for Fusion 360. Then i drew a nice fitting cover.
IMG_20170918_214619374.jpg


I printed a plug and searched for useable plastic in the shed. The third piece i found worked great.
IMG_20170919_112451988.jpg


I had to file the aluminum of the lights a bit to fit in the hole but it works and looks great. The cover fits very well :)
IMG_20170919_131454204.jpg


The servo's are mounted in the wings and it is hard to get the screws in. I use hex nut screws but had to make a small tool to make it much easier. Now i can use all kinds of bits :)
IMG_20170926_180709099.jpg


The servo's and lights are connected through a 12 pin emcotec connector.
IMG_20170922_111938569.jpg


In the right wing is a pitot tube mounted and there was was with my kit. It is a bit spike that can be removed for transport easily. The slat has been glued on also. I opened op the wing to reduce the weight a bit and to secure the wire for the lights. I also checked the structure and reinforced one point in the wing.
IMG_20170922_082933071_HDR.jpg
 
The wings are almost ready. Only the rear mounting holes need the be created.

Flap servo:
IMG_20170929_140128053_HDR.jpg


Ailerons:
IMG_20170929_225053958.jpg


The main gear doors are ready with the scale shells. They are painted silver.
IMG_20170929_225113818.jpg


The main gear is lubricated and the bolts are secured. It works great. The scale brakes are glued on the wheels and are painted silver. Sadly I cannot take the wheels apart now.
IMG_20170929_225121739.jpg


I want to setup the receiver and sequencer for the main wing before I install the receiver in the fuselage. That is much easier in a small space.
 
The puzzle with the small nose gear door is ready. I had to modify some things to get it to work nicely. I had to create an spacer for the arm on the leg. The steering setup was blocking the door arm. After that the rest was a simple trial and error to get a good angle :)

IMG_20171005_200100412.jpg
 
Today i have put it on the scale to see exactly how much weight was needed in the nose..... sadly it is a lot :( 
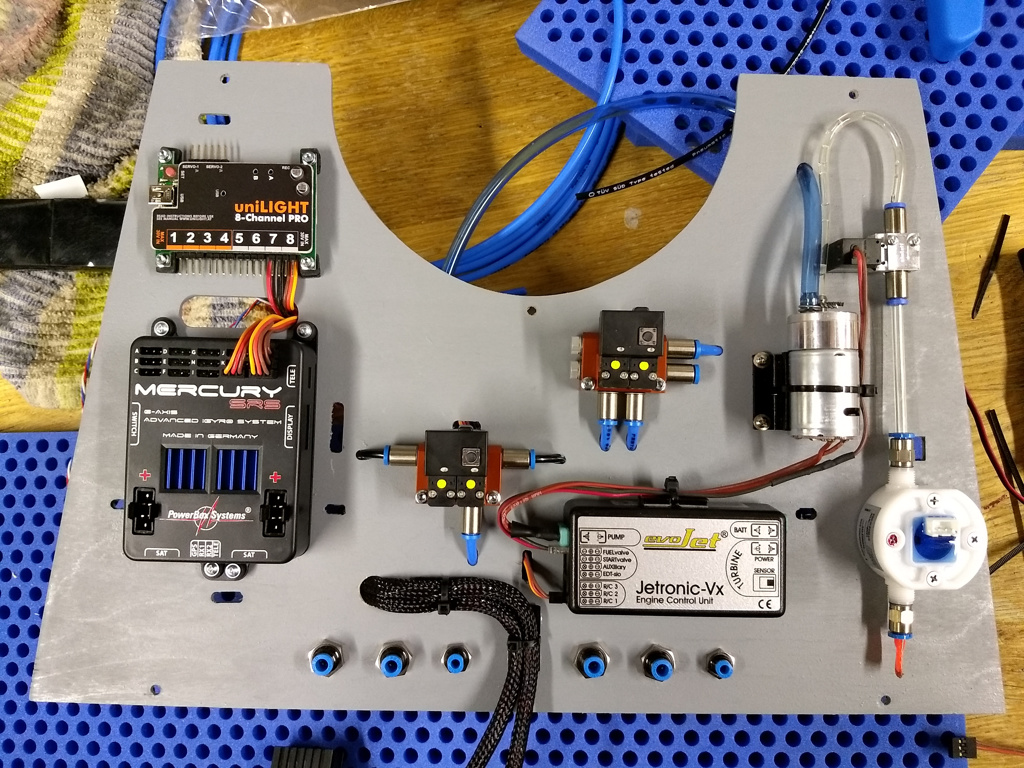
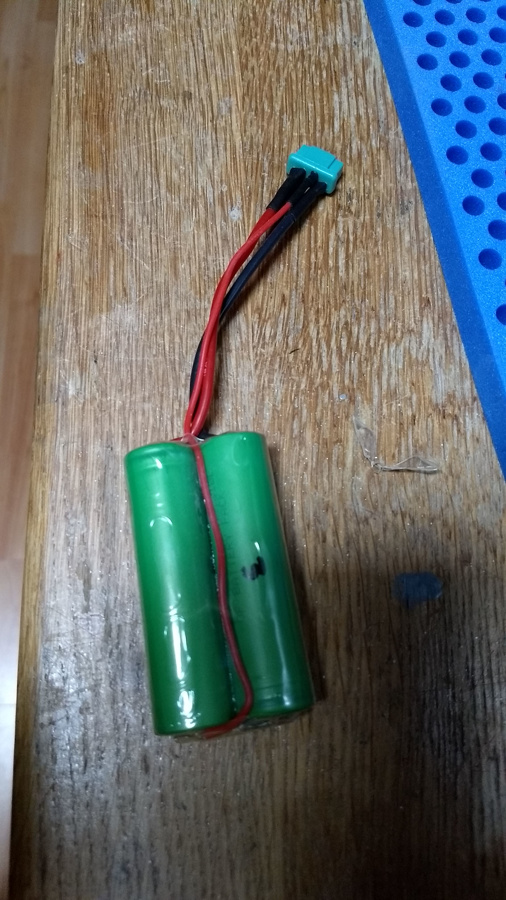
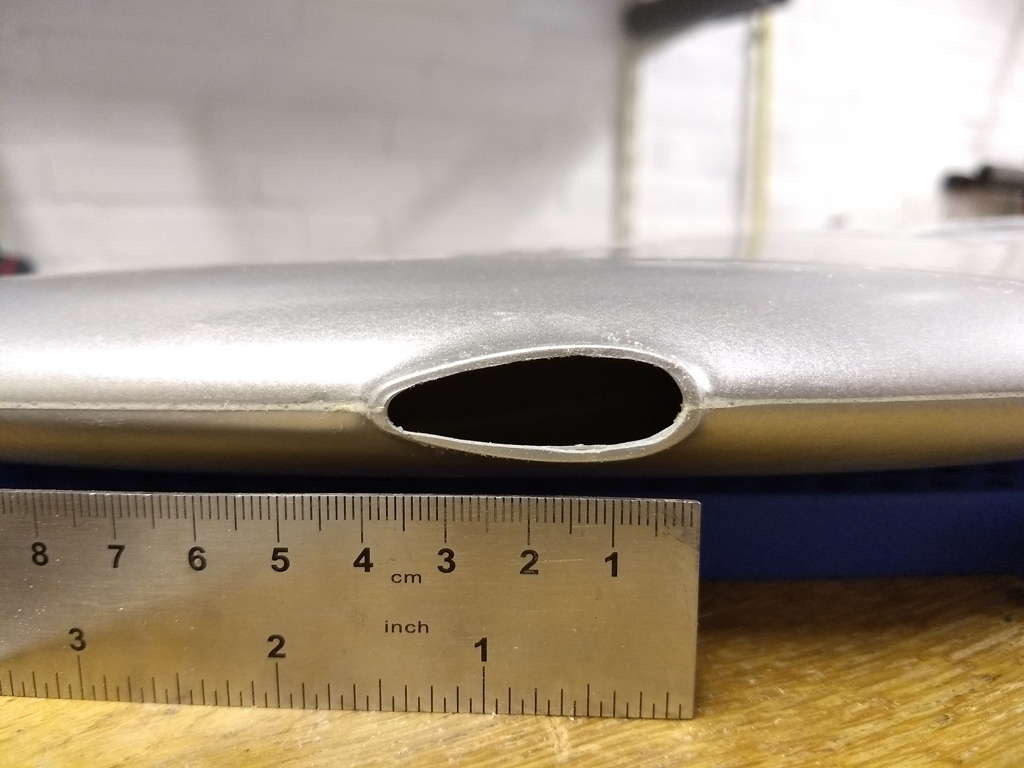
About 2kg is still needed. I only need to add the radio system, batteries, ecu with pump ect and the hopper tank so everything will be as much forward as possible. Sadly the air intake blocks the best space :(
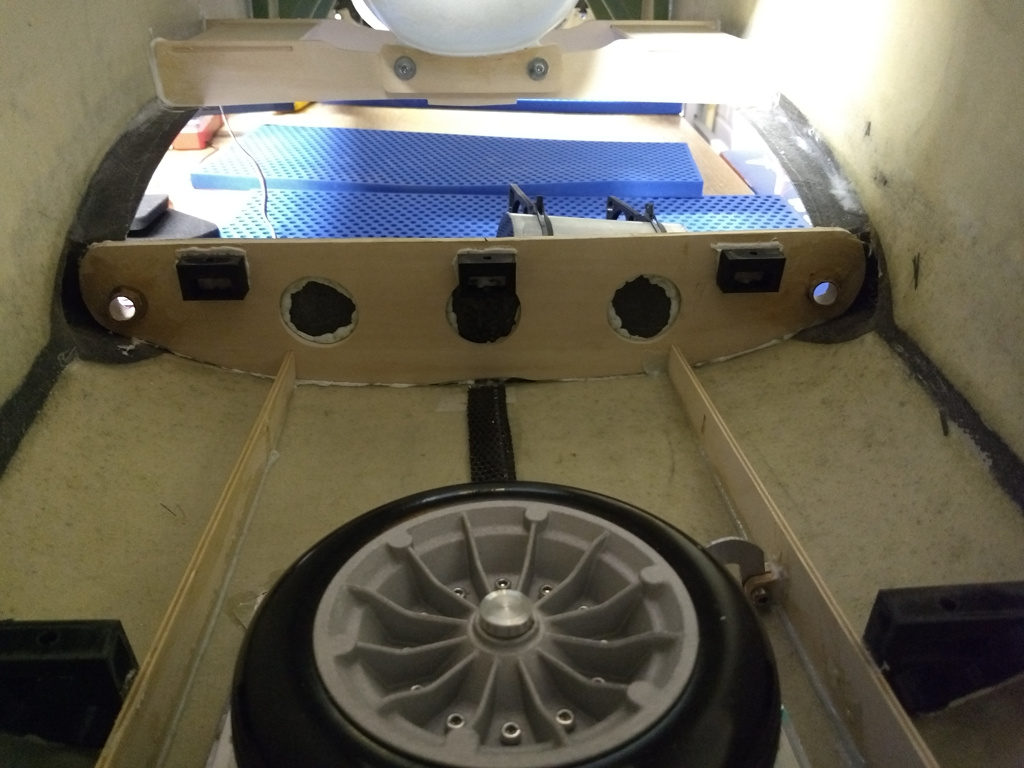
Total weight for the correct CG is 20.34kg. Still good but i want to paint it also.... getting annoyingly close to 25kg :(

Others report the ecu battery was moved to the rear for the correct CG.... why is mine so heavy in the rear? I think it needs a visit from the dremel............
 
I started with the radio tray. Sadly i cannot build much above the gear due to the air inlet. I printed some mounts for the radio tray which is made from 2.5mm multiplex. I will add another mount in the front later.

IMG_20171009_074334187.jpg


IMG_20171009_074443192.jpg


There is enough space for everything.....
IMG_20171008_180747946.jpg
 
The nose wheel looks like this after painting. A bit dull.... but good enough for now.
IMG_20171009_202309885.jpg


I created a mount for the connectors joining the 2 halves of the fuselage. They are not directly above the pipe so it should be good.
IMG_20171010_194219219.jpg


After fiddling about 1 hour with the rudder servo it is finally in place. It is mounted deep in the rudder (about 25cm) and 2 of the screws can only be accessed through the pipe. One screw is below the edge of the pipe..... but it is in and stays in ;)
IMG_20171010_215527449.jpg
 
The radio tray is almost finished. Only the power cables and the telemetry is missing.
IMG_20171011_220428555.jpg


The nose is becoming crowded :) The switch is easily accessible and the screen has been mounted also. The screen is mounted in that position for 2 reasons: The cable isn't longer and now the suns does not fall on it :)
IMG_20171013_081333009.jpg
 
Thanks, but I am only 1/2 way ;) It still needs a lot of work to finish it. I now know that the CG is perfect and that everything works.
 
On request of Tomahawk i would like to note that my kit is a very rough version with little to no work done compared to the normal kit that is sold. Many steps of gluing in formers and other parts is normally done in the factory. Buying the kit this way is an option but requires much more work.
 
I am changing a few things to optimize the CoG. The UAT is now mounted next to the main tank. To get the it mounted correctly i have designed a mount for it:
IMG-20171027-WA0006.jpg


It took 1,5 hours to print and fits great. I added holes for M4 nuts that sit onder the tank. The angle works great to get the air out.
IMG-20171027-WA0004.jpeg


IMG_20171028_110036309.jpg


I changed the batteries to lighter cells. I used 18650 cells from Sony which are rated at 3100 mAh (to 2v.....) and can handle 30A. This saves 150g alone for the same usable capacity. They are placed further back also.
IMG-20171028-WA0001.jpeg


I started with the cockpit and prepared it to put the windows in. Took 4 hours but it turned out great. It is painted grey on the inside (not yet in the photo) for a nice finish.
IMG_20171031_215112097.jpg
 
The F-86 is on display on a fair this weekend. The wheel doors are normally open when the plane is parked (no hydraulic pressure) but with a normal rc sequencer this is not possible. I changed the doors and used my transmitter to sequence them. When you arm the engine they move up slowly and when the engine is turned off they drop slowly. When you have gear up they stay up so i can still do an emergency landing with gear up without destroying the doors. The doors move at a normal speed for a gear sequence.
IMG_20171110_190830763.jpg


Beacon on is engine armed. There was no air pressure (you see why :)) so the gear does not move when cycling.
 
I got some paint. It is a silk finish paint because i don't like the glossy paint on a warbird. The yellow is pretty close to the original color. The small part is a test piece with the original FS color, the yellow stripe on the tail is the closest RAL color.
IMG_20171115_170031952.jpg


IMG_20171116_214705340.jpg


The checkered flag on the tail is next (with the text) but it is a bit more work then i anticipated. The text are paint masked that i ordered. That was easy :)
IMG_20171117_213028733.jpg
 
Ansicht hell / dunkel umschalten
Oben Unten