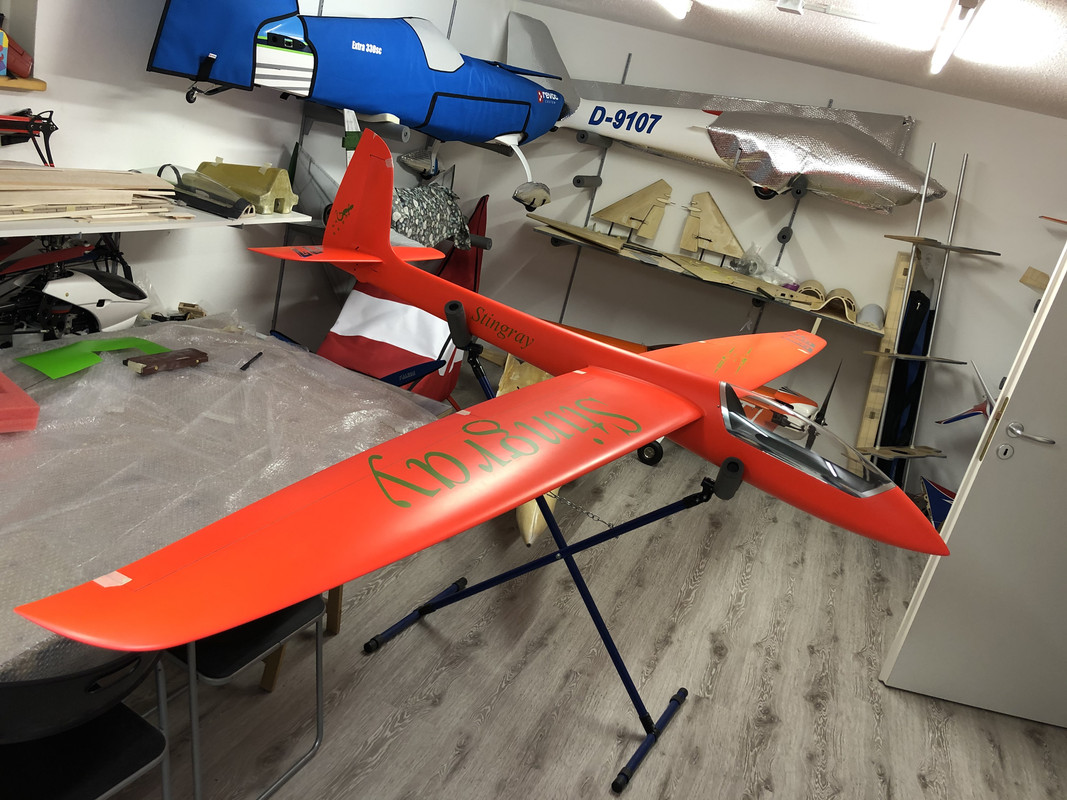
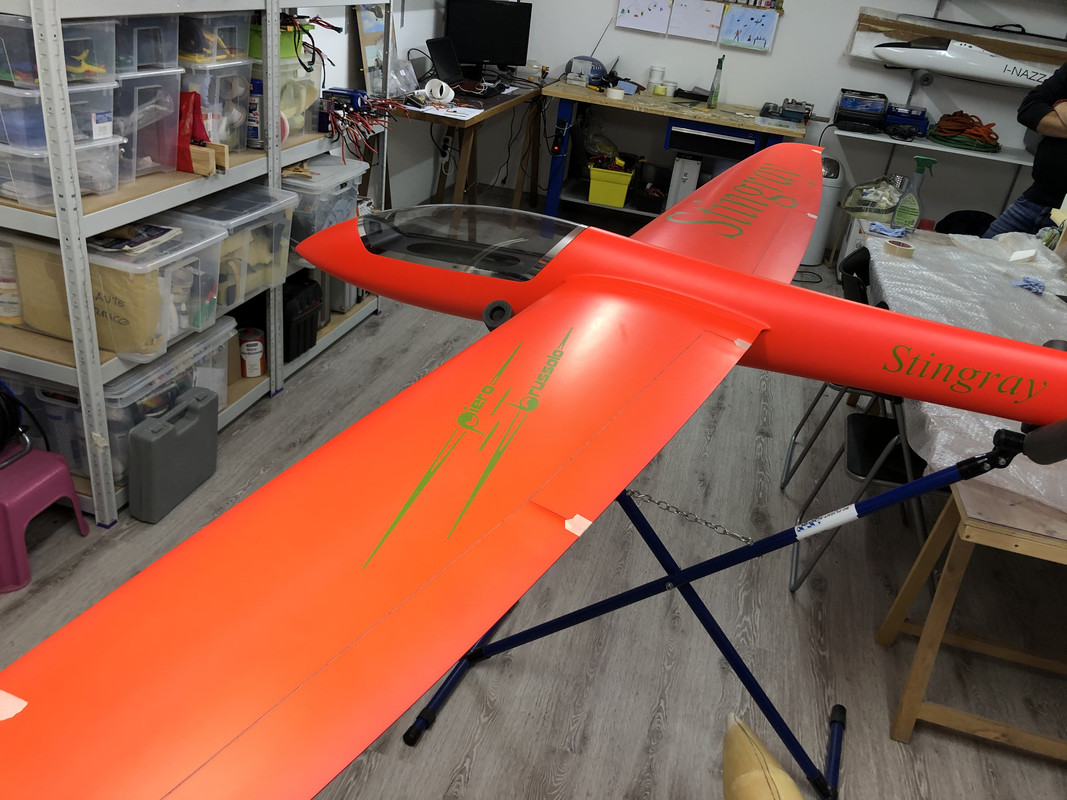
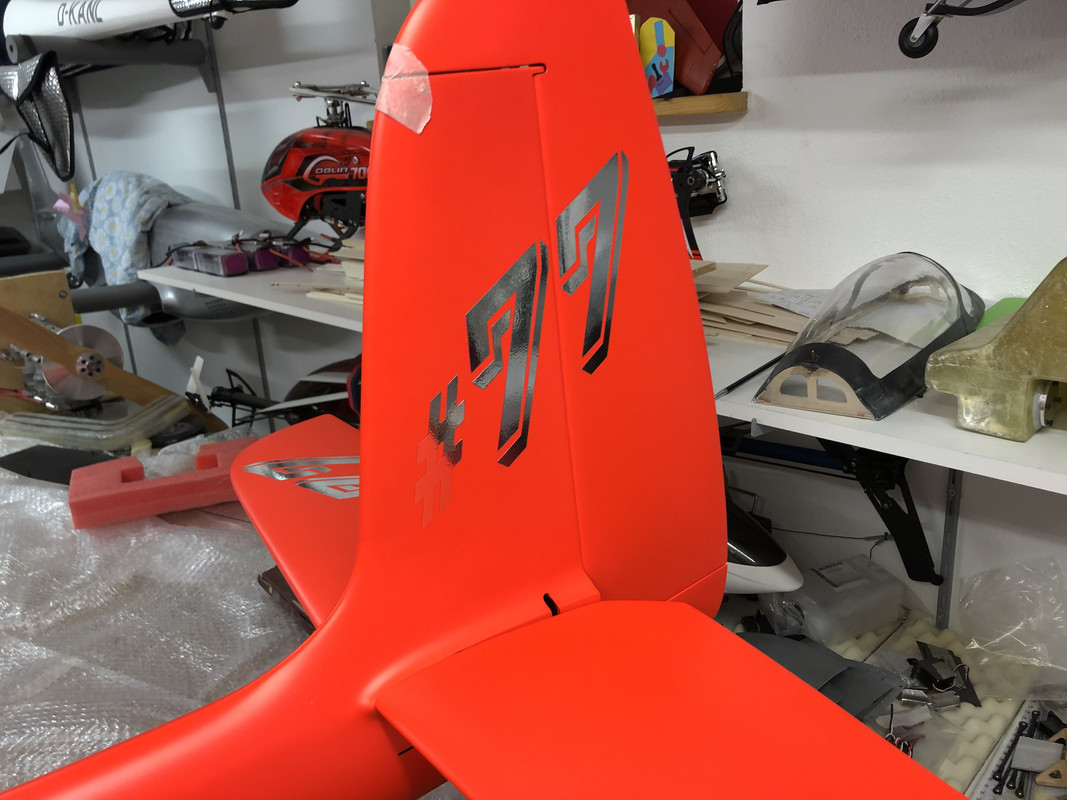
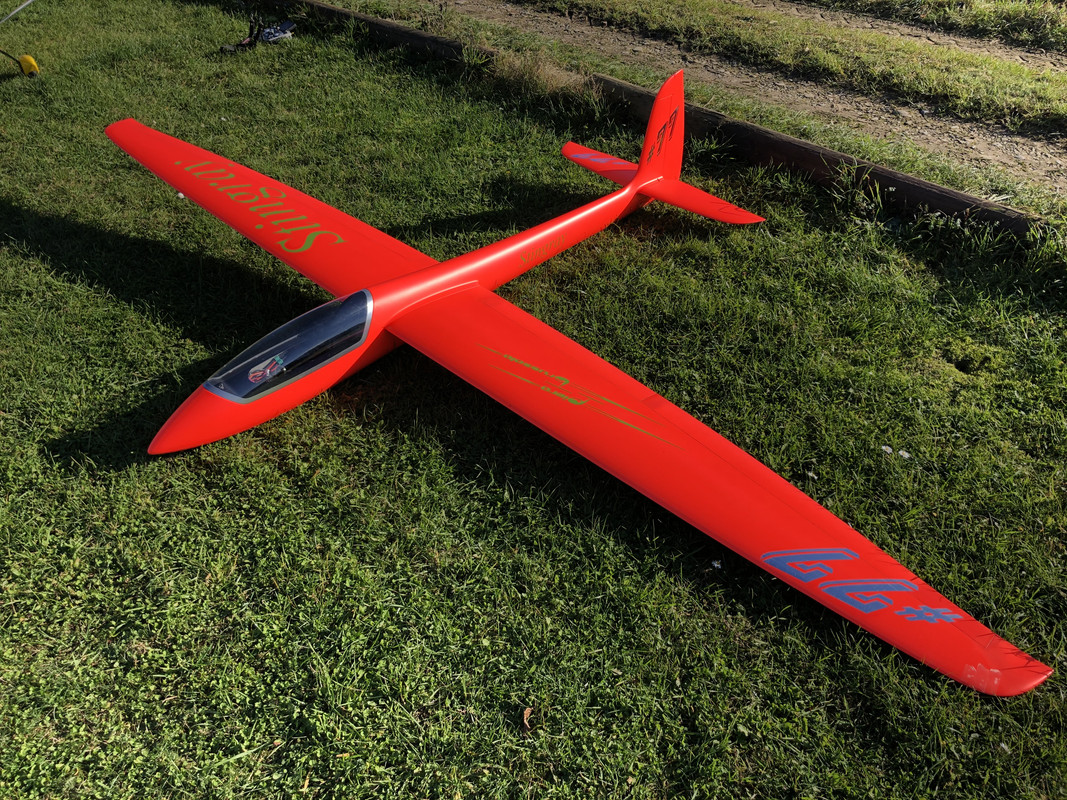
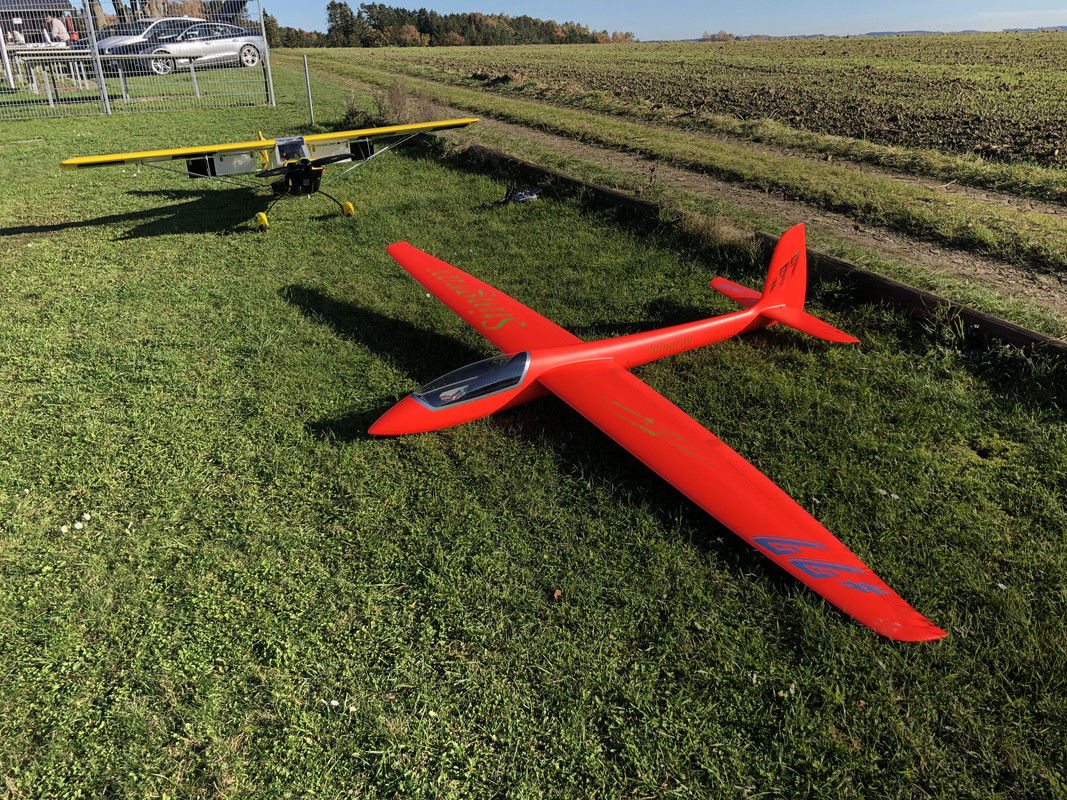
Stingray 3.5m by Piero Brussolo Buil Log

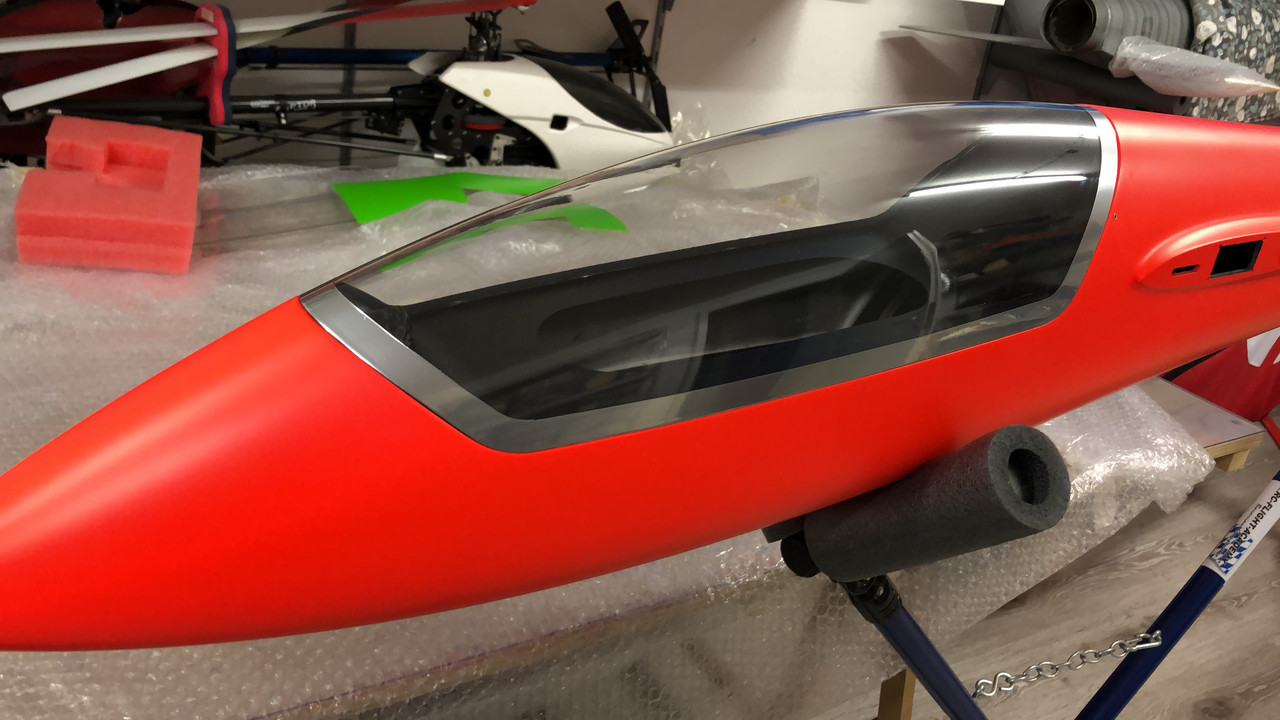
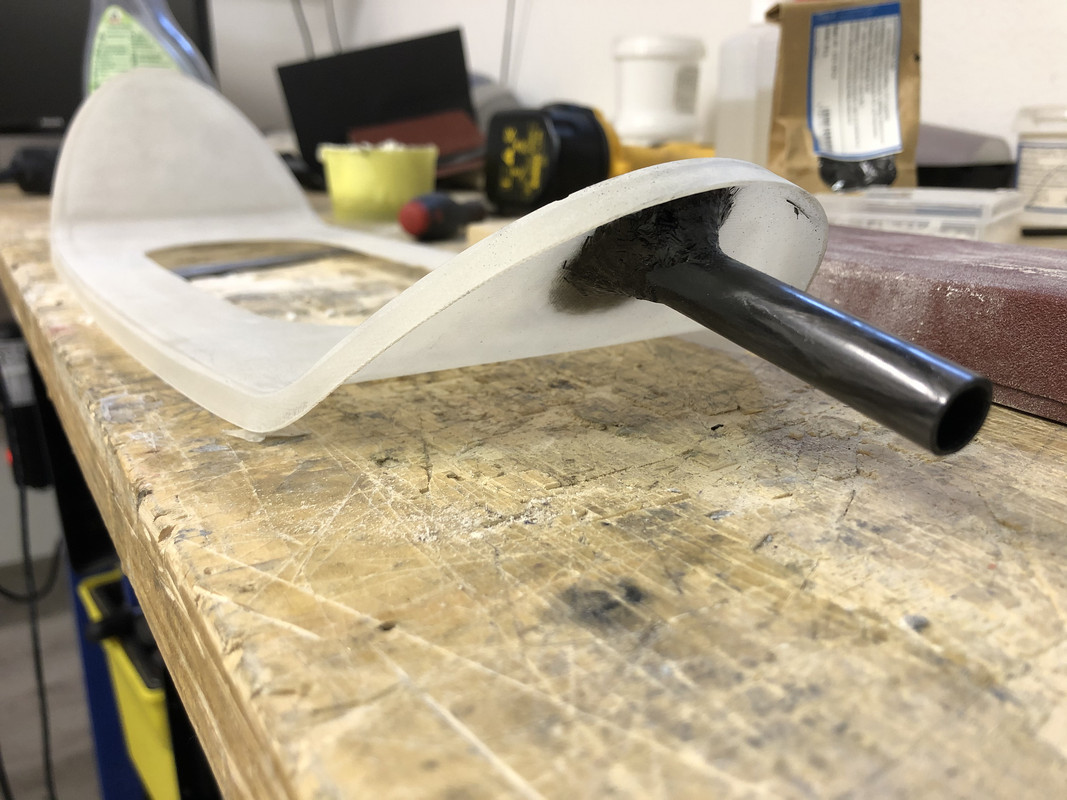
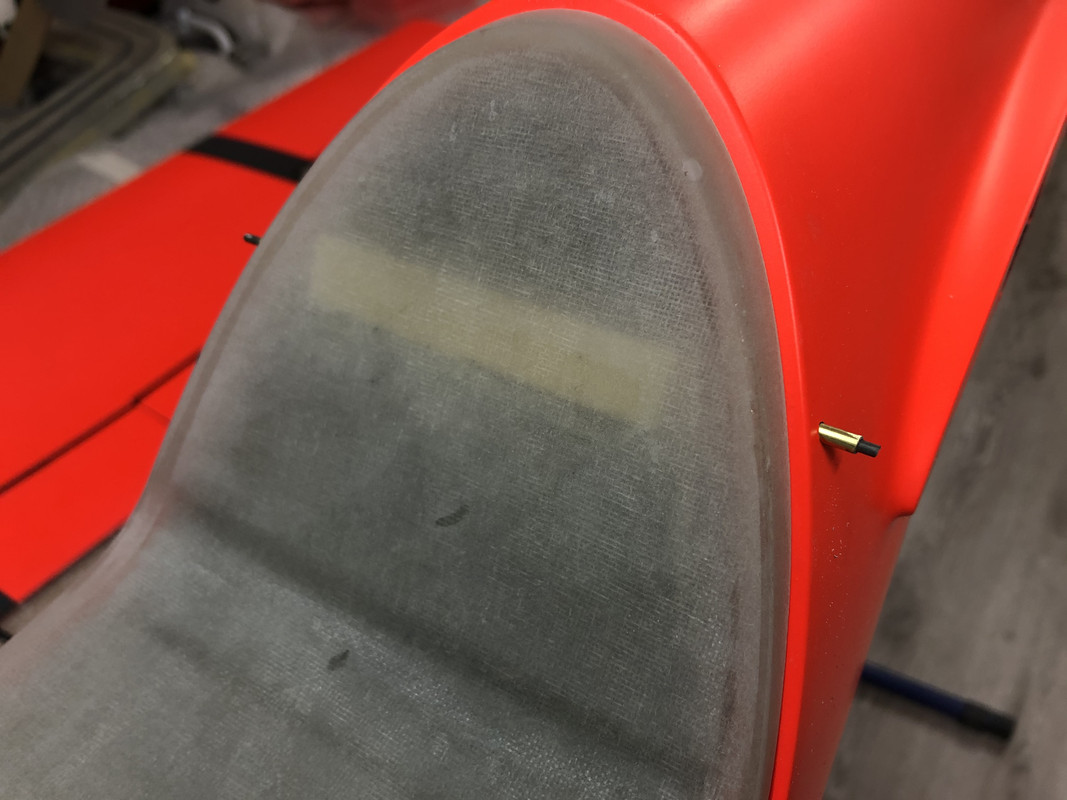
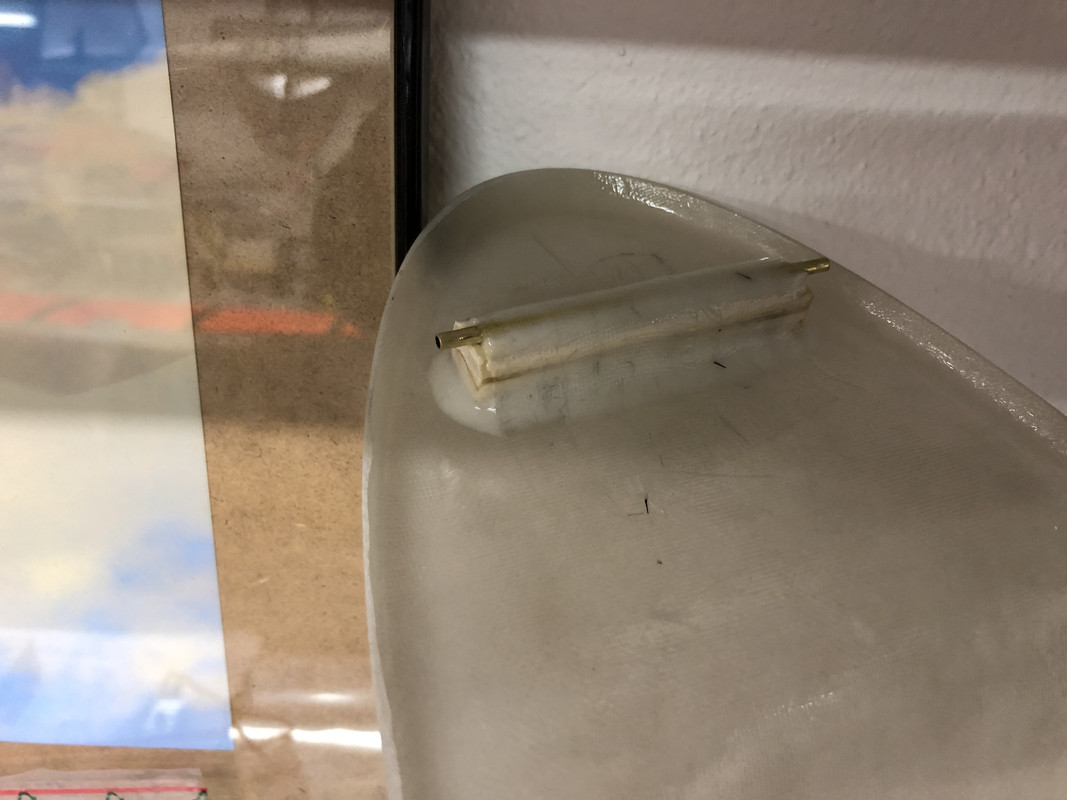
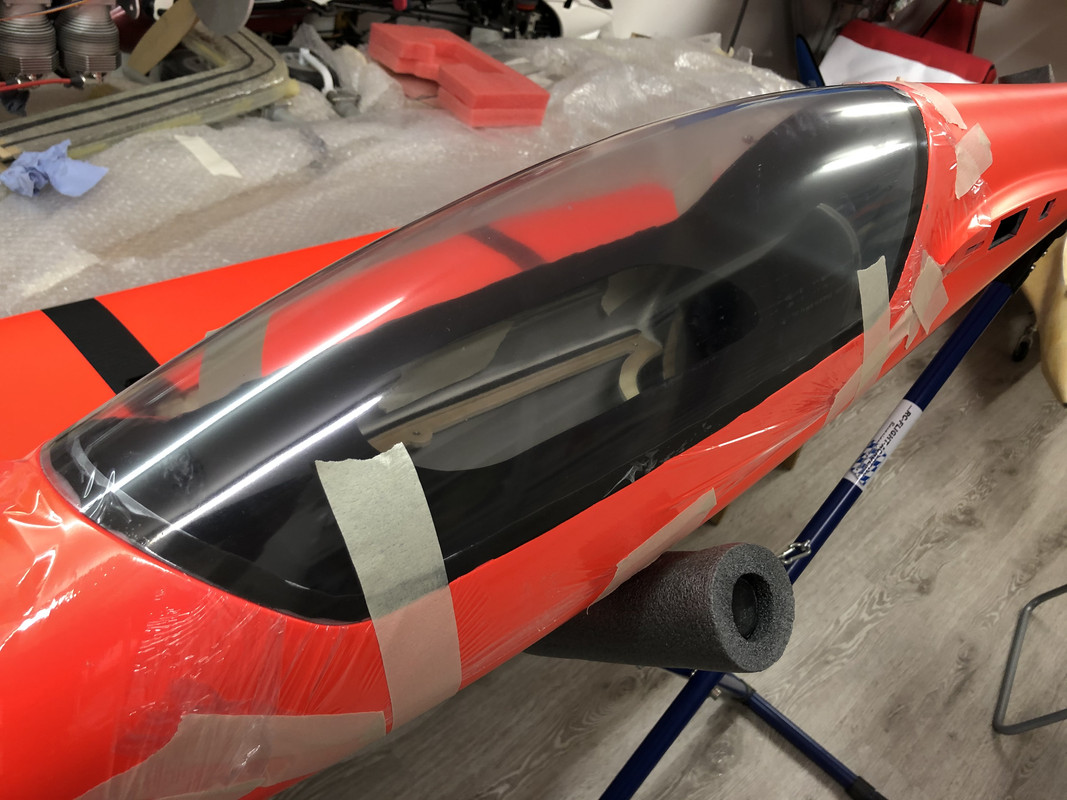
Two details of the canopy assembly.
The central part has been milled out for one-handed access from the inside while gluing the front pin and also the rear fixing.
The front axle is a 12mm diameter carbon tube
On the back the fixing is done with wire inserted transversely
I've never done this solution, so I had to think a little about how I can glue everything in place precisely and without it having any play.
The front was easy.

After drilling the 12mm hole in its front, the canopy base was fixed in place with tape.
I put the tube in place and with two drops of cyanoacrilic and activator fixed it
Then 30 'and carbon fiber above and below

The back requires more attention
I made a block of wood of the precise dimensions, so that it touches the internal rear surface of the canopy base (to be tested all assembled in the fuselage)
I then fixed a portion of the brass tube on the wooden block with cyan (the central part of the fixing)
I temporarily mounted two pieces of brass tube on the sides (to hold everything in position and well centred)
Inserted the steel wire with everything mounted
I sprayed some activator on the canopy base, put some cyanoacrilic on the wooden block (which you remember is mounted in position in the fuselage) and I placed everything in place. The game is done!
After removing the wire, removing the canopy base and fixing everything with 30 'and also two layers of fiberglass
Once dry, I put everything back in position and fix the two tubes on the fuselage side with cyanoacrilic and activator
I then filed away the surplus of the brass tubes on the fuselage



Click here to see a large version

Click here to see a large version

Click here to see a large version
 
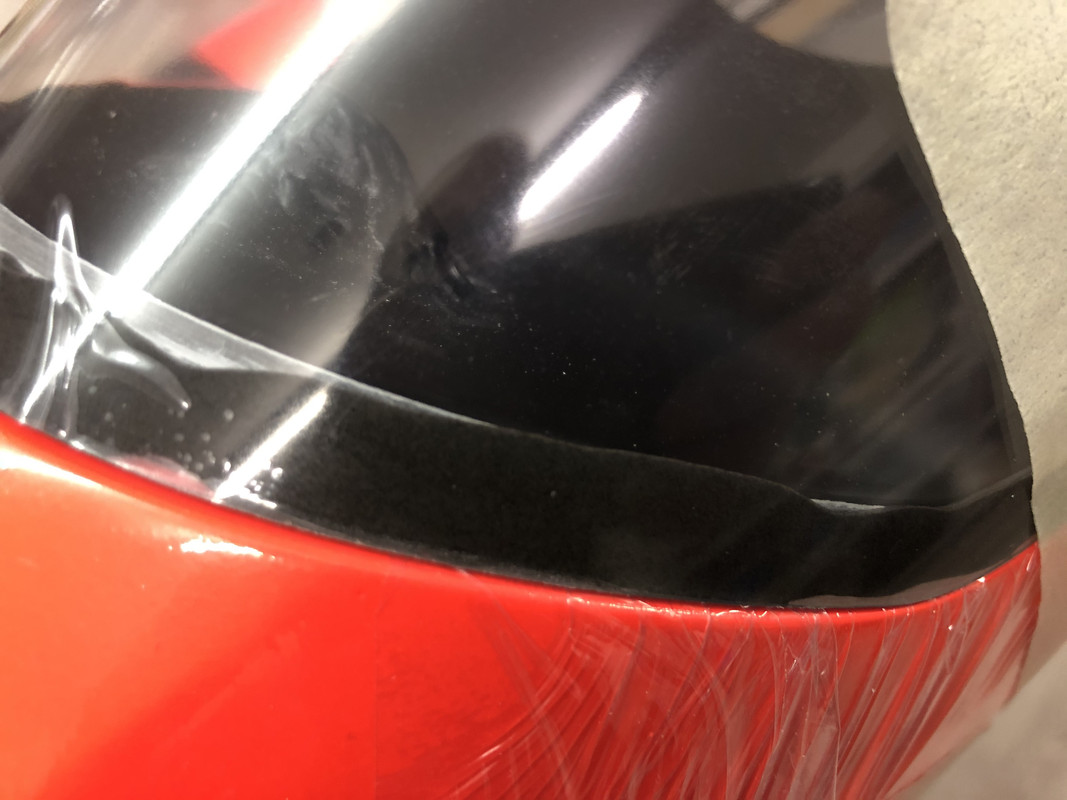
The next step was to glue the glass onto its support.
The glass is already cut to size by Piero
For gluing I usually use silicone, but this time I tried with 30' thickened and colored black with pigment.
To avoid gluing everything together, I put cellofan between the canopy and the fuselage.
It seems to be looking good.
See you soon,

Andrew

PS: on the base canopy he had first given a spray of matt black.

Click here to see a large version

Click here to see a large version
 
Preparation and installation of water ballast system

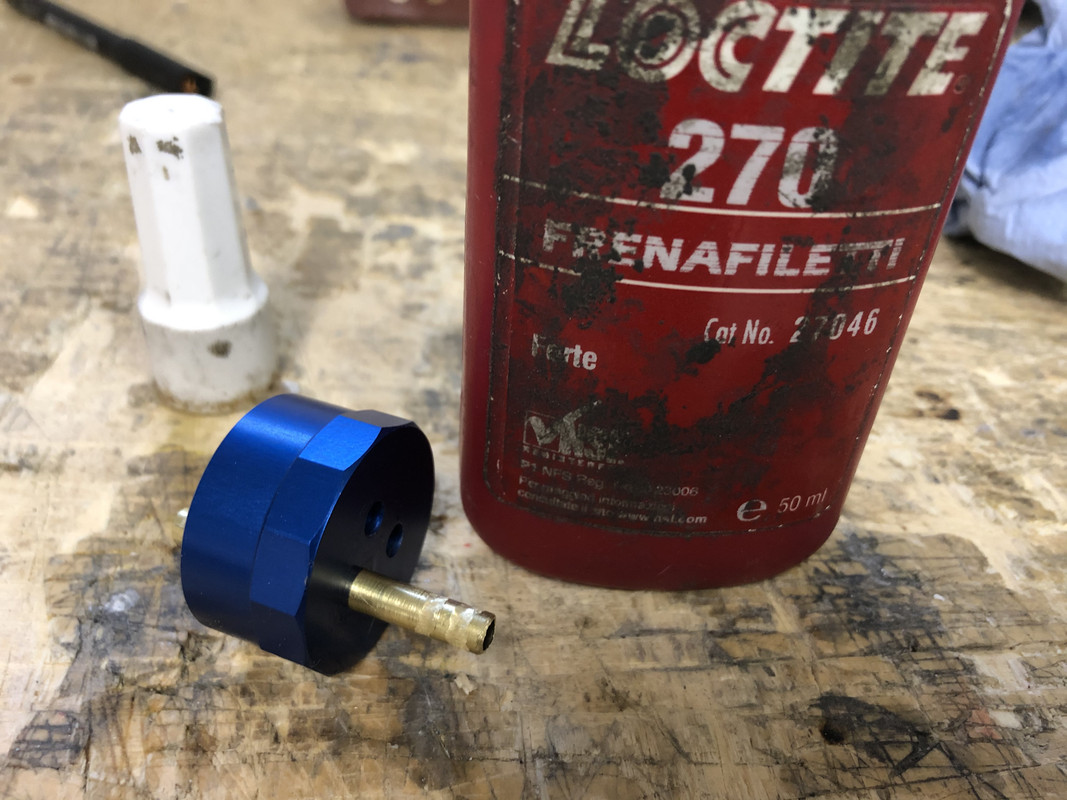
Cap from Jet1A


One of the threaded holes has been drilled out to 5mm to fit a brass tube to facilitate the release (bigger inner section)
Click here to see a large version

Scarico


Assembly
 

Malanger

User
Hello Andrea, thank you very much for this very interesting build log. THAT is quit a machine indeed!!! A lot of nice solutions and there's much to learn from you. This must be a very powerful plane to fly and definitely no toy anymore. Good luck with the maiden and have fun!

May a have a question? It is the first time that i have seen this in a modell. The water balast system. How do you dump the water during the flight? Does it have a designated waterpump? And most of all; can you release, let's say, just the half of the water an still flying good? No trouble with changing centre of gravity? I asume, the bottle is in the area of CG

How do you launch that big girl? Allways by rubberstrap? Handlaunch possible? Or towing by plane?
Videos welcome!
 

Segelflieger

Vereinsmitglied
Zum Thema Wasserballast gab es hier im Forum schon etliche Beiträge. Hier ein Beispiel:


--> Entleerung erfolgt durch Druckluft.
 
Ciao Malanger,
the water ballast is positioned on the CoG clearly.
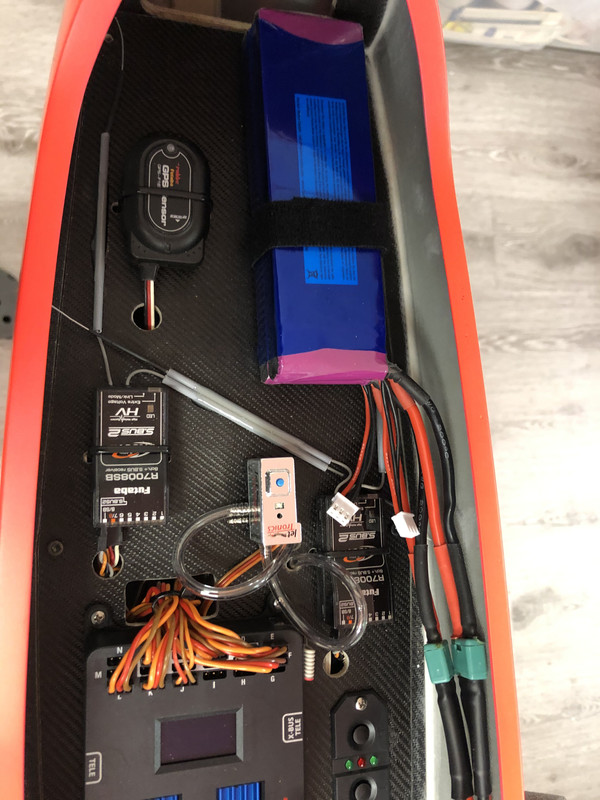
There are three small bottles for compressed air below the electronics plate (sorry, I forgot to put a picture of that; at the first occasion I'll take a picture and show you guys).
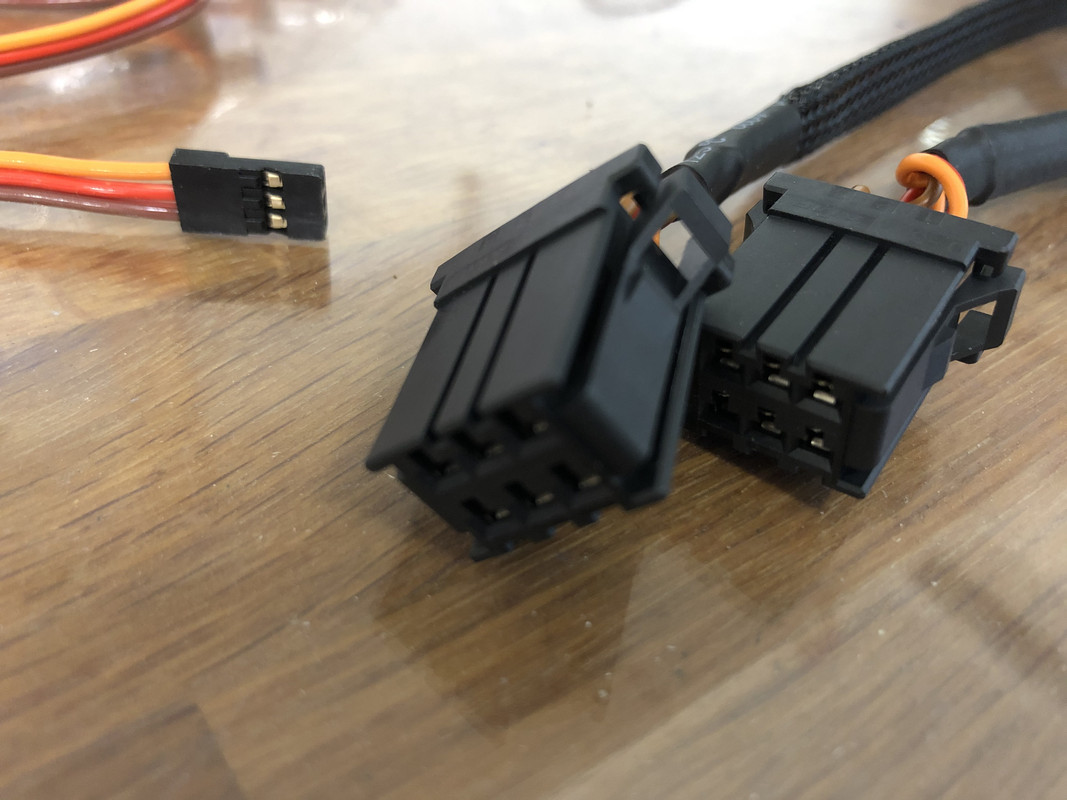
The three small bottles are "charged" with 8 bars compressed air, and the release is by using an electro valve (that you can see in some pictures above...it is on the electronics plate).
It is my first water ballast system, so not much experience, but I assume it is better to release everything to avoid the water to move in the bottle (when not full).

Regarding bringing it in the air.... I can pull at the airfield, lunch by had or with the elastic in the slope.
I expect that with something like 40kph of wind you can launch easily by hand, but having the elastic it is always a good help, also to do a bit of quote and check conditions, with some margine to come back.

Ciao,

Andrea
 
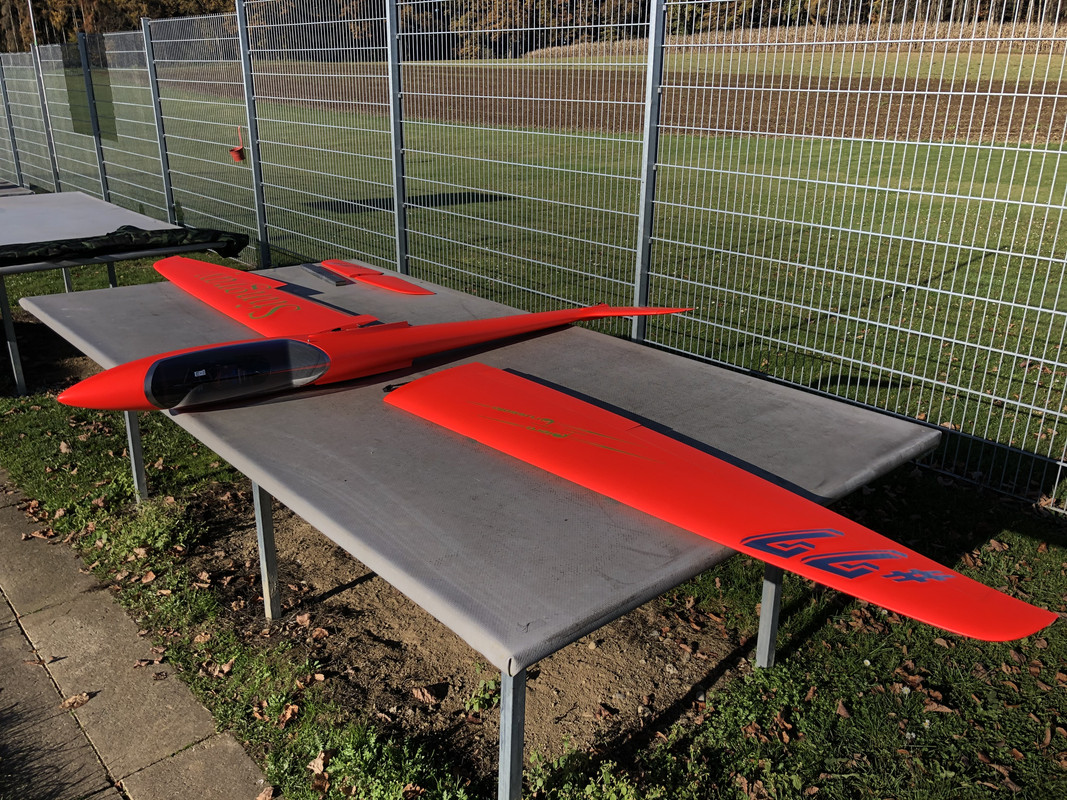
Cold, but not cold enough to stop the will to try the new glider.
Meeting at the field with my friend Mark carrying his beautiful 3m Bellanca with a DA 100.
Last ritual checks and so on.
Towing (with 3-4mm of flap) was a formality right from the start. Stable model behind the pulling machine, that can't afford to slow down too much, hindsight the Stingray overtakes it in an instant, but no problem, just a little attention.
It reaches an altitude of about 450m and releases.
I keep the flaps a little down to try not to lose too much altitude (certainly not thermal days here with us at this time).
The Stingray is doing well and defending itself in these void conditions.
It comes down eh, you don't think it's an Arcus 😉

I try the Butterfly to see how it behaves, the elevator compensation wasn't enough (for my taste); I see that it flattens out and does not point down the nose as I like ... patience, it will change for the next flight ....

I do a couple of loops and various tonneaus ... it seems fine although I have to familiarize myself with the controls to improve accuracy (mine!)

After about 3/4 minutes I approach for the landing, I take it wide, I position myself straight to the field, I operate the butterfly and I prepare to land, but I see that the boy does not slow down.
With one wing tip I touch the branch of a plant that is on the sideline (you can see them on the right of the landing video), but it does not break down any speed (but it scratches the leading edge .... damn me) .
It has been passing by me like a rocket.
Remove Batterfly I try to do another loop. I do my lap surprisingly well, I realign, again outside the Batterfly, but I soon realize that the speed is still too high, I do the whole field and finish in the next field, which luckily is grassy ... . I do not understand ... until I realize that I had not activated the switch that makes the Butterfly available to me ... now it is clearer to me
Not a nice mistake for mistake for someone who has been doing this hobby for 30 years !!
Was it the tension of the new model ... or just distraction and stupidity.... not sure!

I recover the model which lukily has no damages, apart from the scratch on the left wing tip.

I'm a little pissed off with myself for the mistake, but I have to try it again right away.

Seven more tows made (8 in all) and seven decent landings (a couple in the videos below).
Unfortunately, the sequence of the first landing is missing, because whoever made the video, in that moment of twists and turns, got more excited than me and didn't take the shot (well it wouldn't have been a good show, but it would have been interesting to be reviewed).

I'm happy.
It flies well and has shown great potential.
I didn't try to raise the profile to see the speed (max 210kph from about 200m). But what's nice is how it maintains the speed.

Well, I have to stretch my thumbs a little more and I can't wait.
We'll see if the temperature allows it.

See you soon,

Andrea

First absolute start (pull)

One of the seven decent landing with some acro (not very nice video...sorry)

Another landing

Click here to see a large version

Click here to see a large version

Click here to see a large version
 
Ansicht hell / dunkel umschalten
Oben Unten